Follow Me On Social Media!

Yellow Moong Dal Bliss: Creamy, Comforting, Homemade Goodness
Introduction to Yellow Moong Dal
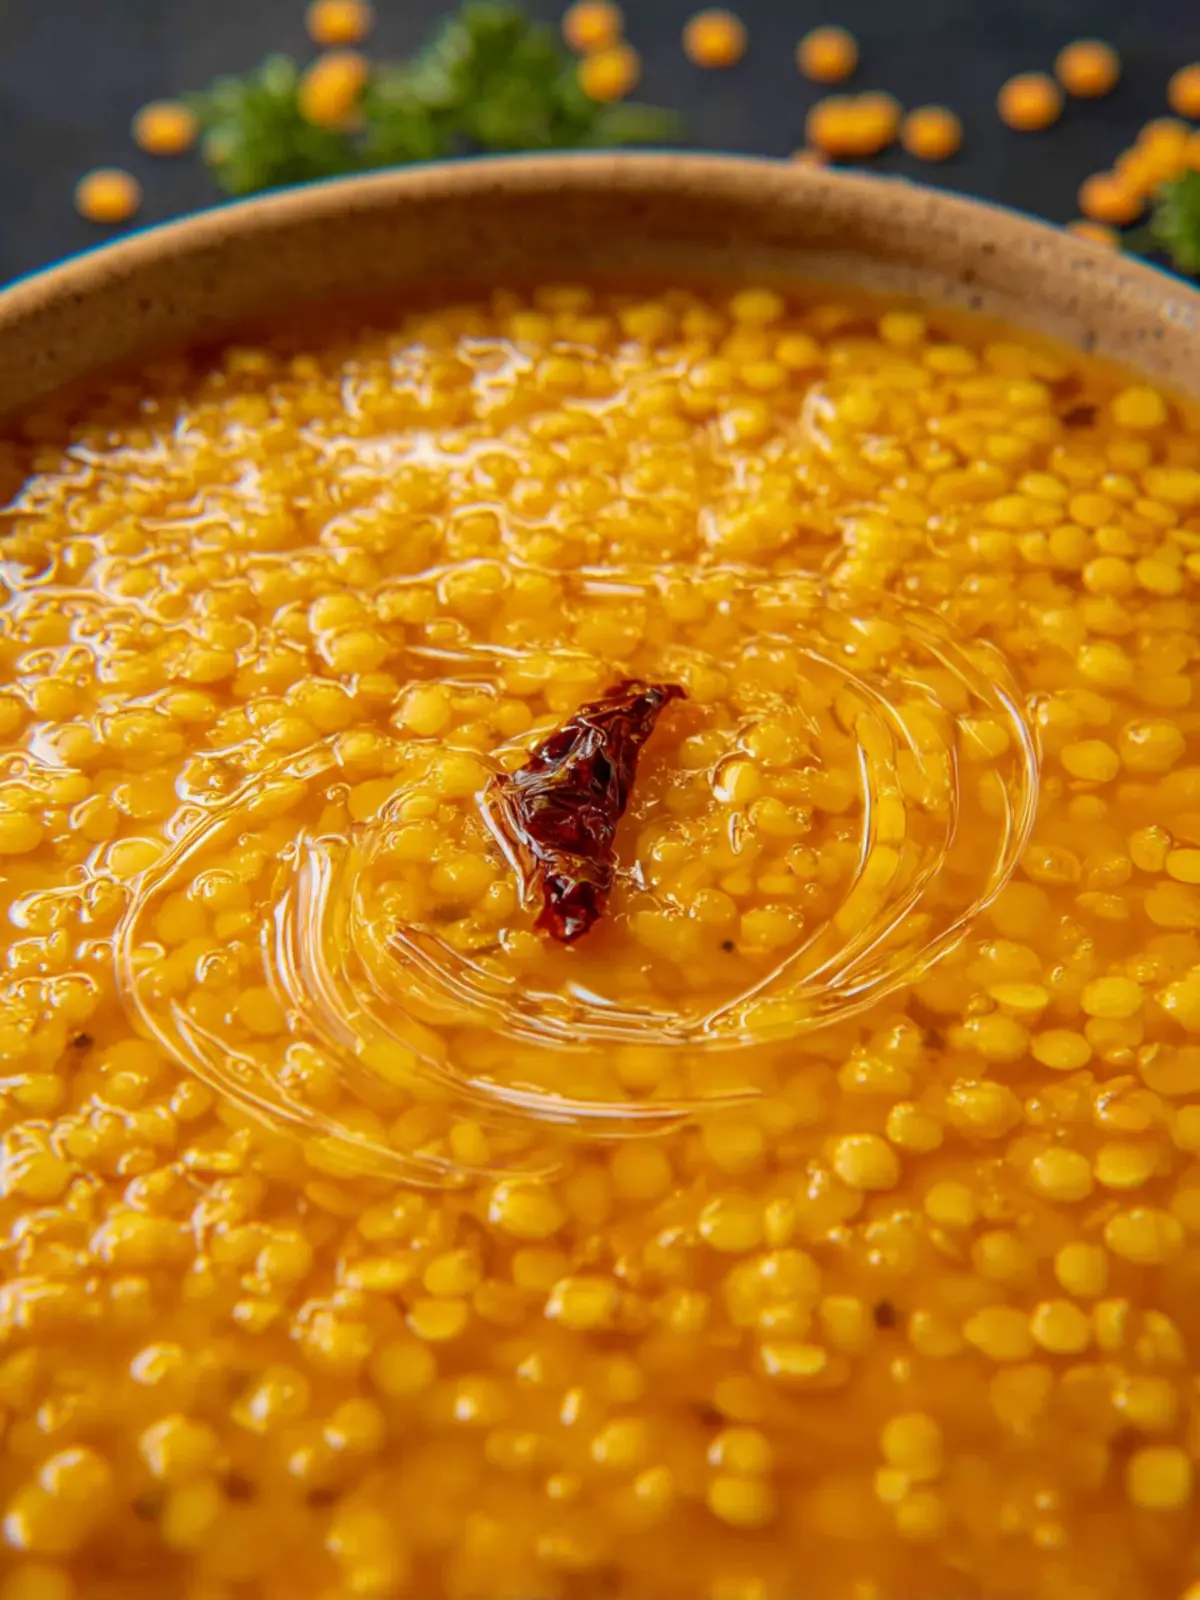
In the heart of Indian cuisine lies a treasure trove of flavors and health benefits, and yellow moong dal stands out as a beloved staple. As I sit down to craft a comforting bowl of this luscious lentil dish, I’m reminded of family gatherings where the aroma of aromatic spices mingled with the earthy scent of lentils would welcome you at the door. Whether it’s a cozy weeknight dinner or a special occasion, yellow moong dal brings a nourishing warmth that always feels like home.
What exactly makes yellow moong dal so special? First, it’s the lentil itself. Known for its rich golden hue, yellow moong dal isn’t just visually appealing; it’s packed with protein, fiber, and essential nutrients. A mere cup of cooked dal can provide nearly half of your daily protein needs, making it a stellar choice for both vegetarians and those simply looking to balance their meals. Beyond its health benefits, the smooth texture and mild flavor of yellow moong dal make it incredibly versatile. It pairs beautifully with a variety of spices, vegetables, and grains.
Here’s what I love about incorporating yellow moong dal into my meals:
- Quick Cooking: Unlike other legumes, yellow moong dal cooks quickly, which is a lifesaver after a long day at work.
- Digestive Friendly: This lentil is easier to digest compared to its counterparts, making it suitable for everyone, from young children to older adults.
- Rich in Nutrients: It’s an excellent source of folate, magnesium, and potassium, all essential for maintaining good health.
- Incredibly Adaptable: You can enjoy it as a soup, a side dish, or even as a base for salads or wraps.
With so many benefits, it’s no wonder that yellow moong dal has found its way into the hearts and kitchens of many. Stay tuned as we dive deep into how to prepare this delightful dish to warm your soul and tantalize your taste buds!
Key Ingredients for Yellow Moong Dal
Yellow Moong Dal: This split and skinned lentil is the heart and soul of our dish. Known for its light texture and subtle flavor, yellow moong dal is quick to cook and packs a punch of plant-based protein, making it a favorite in kitchens across India. Its ability to absorb spices beautifully means it becomes the perfect canvas for vibrant flavors.
Turmeric Powder: Essential in any yellow moong dal recipe, turmeric powder not only lends a rich golden hue but also boasts impressive health benefits, including powerful anti-inflammatory properties. It’s like nature’s golden secret!
Ghee: A key component that takes your dal to the next level, ghee infuses a nutty aroma and enhances the overall taste. This traditional clarified butter not only feels indulgent but contributes to the authentic Indian experience.
Asafetida (Hing): Though you might not be familiar with it, asafetida can elevate your yellow moong dal with its unique, pungent aroma. Known for its digestive benefits, just a pinch can add a delightful depth while ensuring your meal is easy on the stomach.
Cumin Seeds and Garlic: Combining these aromatics creates a fragrant base that breathes life into your dal. Complemented by Kashmiri red chili powder, you’ll achieve just the right balance of warmth and color, enhancing your dish without overwhelming the delicate lentils.
The right ingredients blend together to create a comforting and wholesome dish that warms the heart. Happy cooking!
Why You’ll Love This Recipe
Yellow moong dal is not just a staple in Indian cuisine; it’s a dish that holds a special place in my heart. Growing up, I watched my grandmother prepare this comforting lentil dish, transforming simple ingredients into a meal that feels like a warm hug. You’ll find that preparing yellow moong dal in your own kitchen can evoke those same cozy feelings while offering a nutritious and flavorful experience.
Nutritional Benefits
One of the standout features of yellow moong dal is its rich nutrient profile. Packed with protein, this lentil variant is an excellent choice for health-conscious individuals. It’s low in calories and high in fiber, making it a filling option whether you’re in a rush or enjoying a relaxed evening at home.
Versatile Ingredient
The beauty of yellow moong dal lies in its versatility. You can enjoy it alone with rice, as a spread on bread, or even in soups and salads. Toss in your favorite veggies or spices to personalize it—there’s no limit to how you can make it your own!
Quick and Simple Preparation
If you’re juggling a busy schedule, you’ll appreciate how simple and quick it is to whip up this dish. Ready in under 30 minutes, yellow moong dal is perfect for weeknight dinners or as a meal prep option that keeps well throughout the week.
When you want a comforting, nutritious dish that’s easy to make, give this yellow moong dal recipe a try; it might just become your new favorite!
Tips for Making Perfect Yellow Moong Dal
Mastering yellow moong dal is all about understanding its nuances. Every cook has a love story with this dish, and here are some keys to ensure yours is a delicious one.
Rinse and Soak
Start by thoroughly rinsing the moong dal under cold water. This removes excess starch, allowing for a smoother consistency. If you have time, soaking the dal for 30 minutes can further soften it and reduce cooking time, enhancing its texture.
Choose the Right Spices
Spices are the heartbeat of your yellow moong dal. Make sure to use fresh spices for the best flavor. A mix of turmeric, cumin, and coriander brings the dish to life. And don’t skip the tempering! Frying these spices in oil before adding the dal infuses the dish with rich flavors.
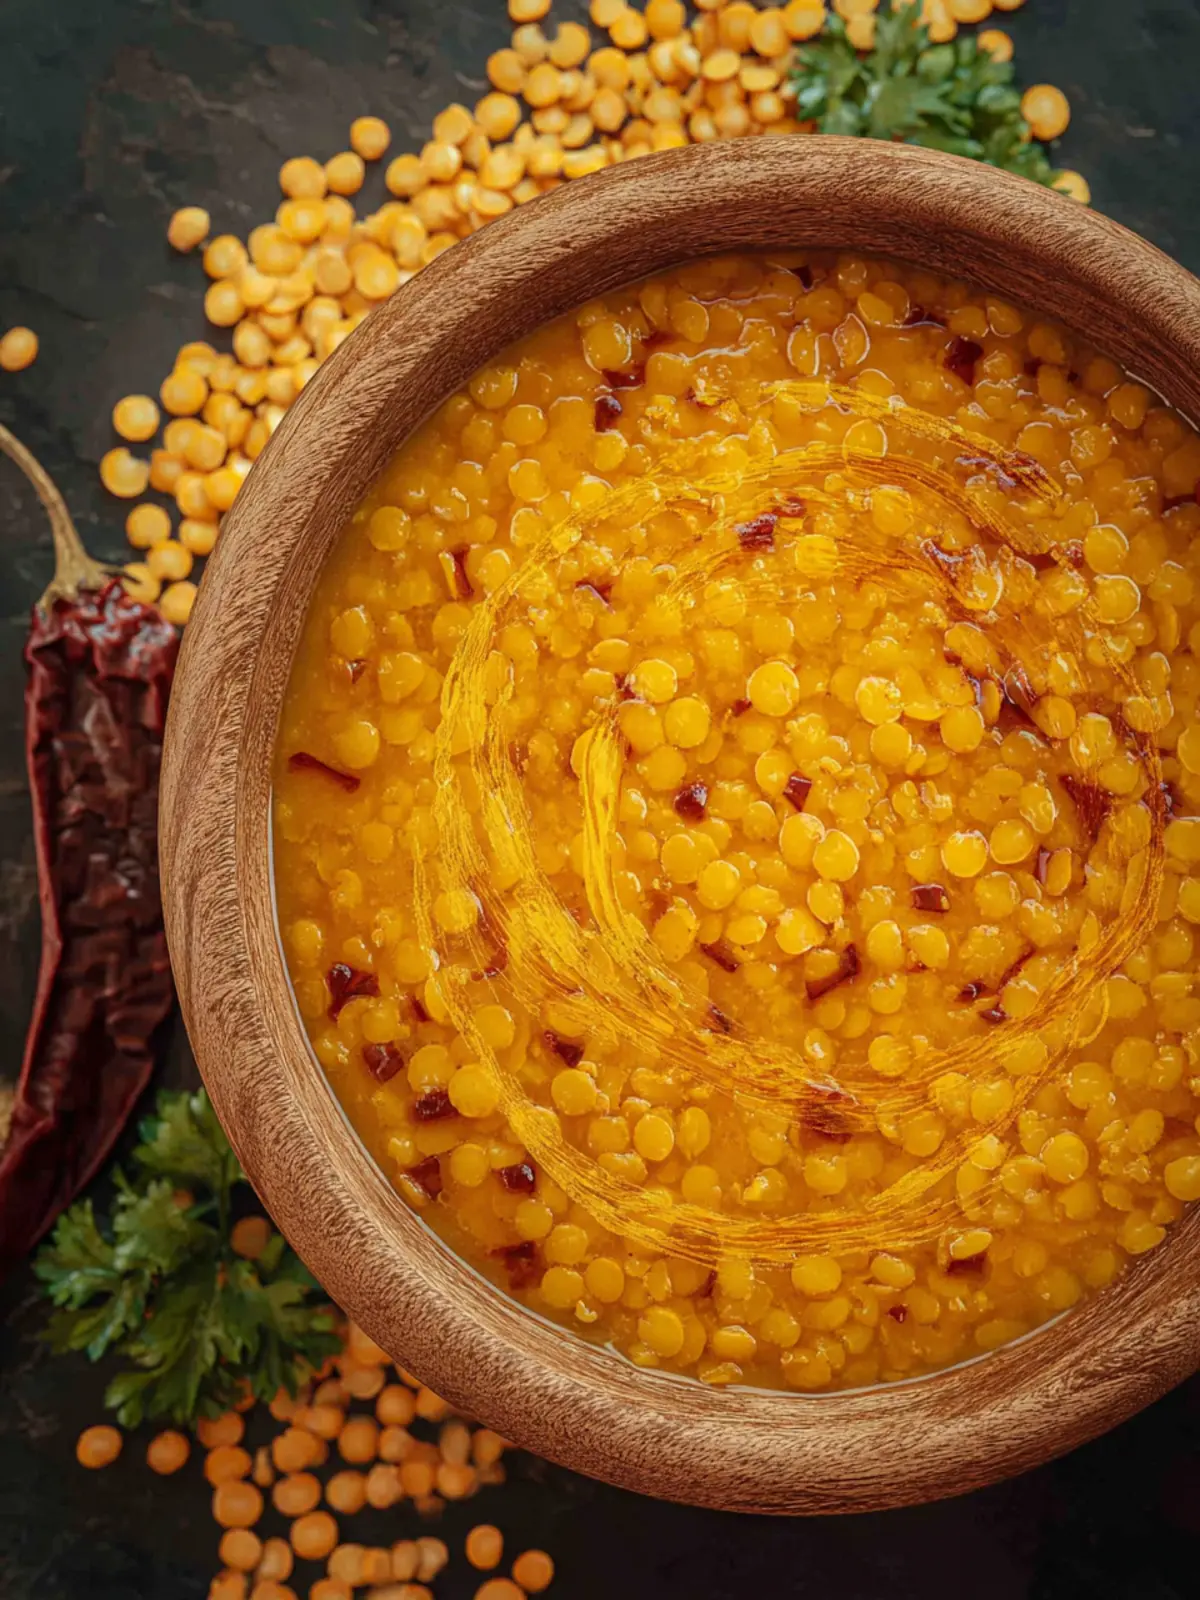
Consistency Matters
Cooking yellow moong dal to the right consistency is crucial. Aim for a creamy texture, adding water incrementally as you cook. If you prefer a thicker dal, reduce the amount of water. For a soupy version, add more water until it reaches your desired consistency.
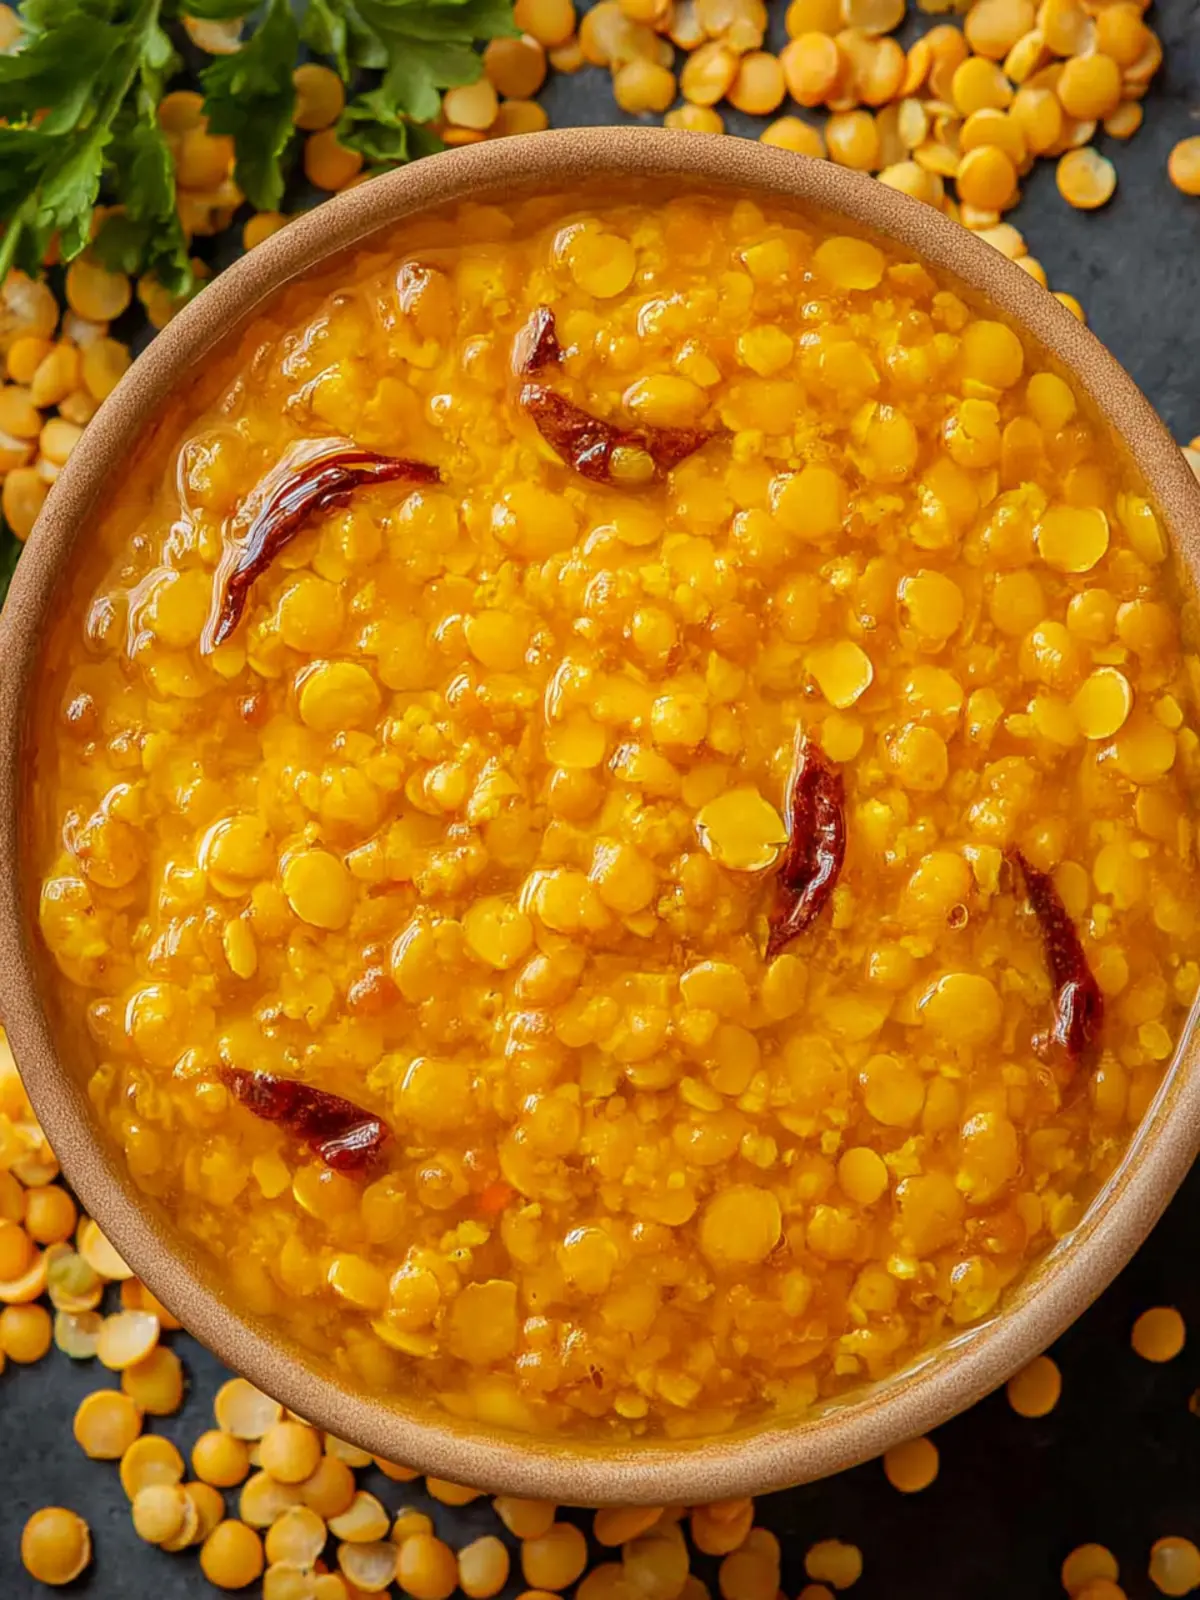
Garnish for Greatness
Before serving, elevate your yellow moong dal with a fresh garnish of coriander leaves and a squeeze of lemon juice. These simple additions will enhance the flavor while adding a burst of color, making your dish as beautiful as it is tasty.
By following these tips, you’ll find that making yellow moong dal is not just a recipe—it’s a rewarding experience that brings warmth and comfort to your table.
Time Details for Yellow Moong Dal
Making a comforting bowl of yellow moong dal can be a delightful ritual in your week. Understanding the timing involved helps you enjoy the process, ensuring you savor every minute of it.
Preparation Time
Getting your ingredients ready for yellow moong dal will typically take about 10 to 15 minutes. This includes washing and soaking the lentils, chopping any vegetables, and measuring out spices. Taking your time here ensures everything is at your fingertips when it’s time to cook.
Cooking Time
The actual cooking time for yellow moong dal is relatively quick, usually around 20 to 30 minutes. This accounts for bringing the lentils to a boil, simmering them to a perfect tenderness, and allowing flavors to meld beautifully.
Total Time
In total, you’ll spend approximately 30 to 45 minutes from start to finish. Not only is this manageable for a weeknight dinner, but it also leaves room for you to unwind and enjoy the process of creating this nourishing dish.
Nutritional Information for Yellow Moong Dal
Yellow moong dal isn’t just a delicious addition to your meal; it’s packed with nutrition that can make your dining experience both satisfying and healthy. Did you know that this humble legume is a powerhouse of essential nutrients? Let’s break it down.
Calories
A 100-gram serving of yellow moong dal typically contains about 347 calories, making it a hearty choice for your meals. It’s an excellent option if you’re looking to fuel your day without excessive calorie intake.
Protein
One of the standout features of yellow moong dal is its impressive protein content. In just 100 grams, you’ll get around 24 grams of protein. This makes it a fantastic source of plant-based protein, especially for those on a vegetarian or vegan diet looking to boost their protein intake.
Sodium
When it comes to sodium, yellow moong dal is quite low, generally containing only about 5 milligrams per 100 grams. This makes it a heart-friendly option for those monitoring their sodium intake while still enjoying flavorful meals.
Incorporating yellow moong dal into your diet not only adds great taste but also provides a wealth of health benefits, making it a perfect fit for a balanced lifestyle.
FAQs about Yellow Moong Dal
When it comes to preparing a delicious dish like yellow moong dal, you might have a few questions on your mind. It’s such a versatile ingredient that the possibilities are endless! Here are some frequently asked questions that might help you elevate your cooking experience.
How do I add more flavor to yellow moong dal?
If you’re aiming to enhance the flavor of your yellow moong dal, consider these tips:
- Spices: Adding a mix of cumin seeds, turmeric, or hing (asafoetida) can elevate the taste profile significantly.
- Herbs: Fresh cilantro or mint, added at the end, can infuse a refreshing note that balances the richness of the dal.
- Garnishing: A squeeze of lime juice or coconut cream stirred in right before serving can add a delightful twist to your dish.
Can yellow moong dal be prepared in advance?
Absolutely! Yellow moong dal can be cooked a day in advance and tastes even better the next day as the flavors meld together. Just make sure to let it cool completely before storing it in an airtight container in the fridge.
What’s the best way to store leftovers?
To keep your yellow moong dal fresh:
- Refrigeration: Store leftovers in an airtight container. They’ll last for about 3 to 4 days.
- Freezing: If you want to keep it longer, you can freeze it. Portion it in freezer-safe containers, and it should hold well for up to three months. When reheating, adding a splash of water can help restore the desired consistency.
With these tips, you can enjoy your yellow moong dal without the stress of preparation. Happy cooking!
Conclusion on Yellow Moong Dal
Yellow moong dal is more than just a staple in many Indian households; it’s a comfort food that tells a story of nourishment and warmth. This versatile legume is not only easy to prepare but also packed with protein, making it a fantastic choice for busy professionals. Whether you opt for a simple spice blend or elevate it with colorful veggies, yellow moong dal caters to various tastes and dietary needs. As you enjoy this dish, think of all the delightful variations you can create, inspiring you to embrace the joy of cooking while nourishing your body with wholesome ingredients.
Print
Instant Pot Yellow Moong Dal
- Total Time: 30 minutes
- Yield: 4 servings 1x
- Diet: Vegetarian
Description
A comforting and nutritious yellow lentil dish cooked in an Instant Pot.
Ingredients
Scale
- 1 cup yellow moong dal (dhuli moong dal, split and skinned yellow lentil)
- ½ teaspoon turmeric powder
- 2 teaspoons salt (or to taste)
- 1 tablespoon freshly squeezed lime juice
- 2 tablespoons ghee
- ¼ teaspoon asafetida (hing) (skip for gluten-free)
- 1 teaspoon cumin seeds
- 1 teaspoon finely chopped garlic
- 1 teaspoon Kashmiri red chili powder
Instructions
- Wash moong dal with water 2-3 times until the water runs clear.
- Soak it in 3-4 cups of water for 30 minutes.
- Drain the water. Add the soaked dal to the Instant Pot along with 3 cups of water, turmeric powder, and salt and stir gently.
- Close the lid of the pot and set the valve to the sealing position.
- Press PRESSURE COOK and set the timer to 10 minutes at HIGH PRESSURE. The Instant Pot will take some time to build pressure and the timer to start.
- Once the timer goes off, let the pressure release naturally for 10 minutes.
- Release the remaining pressure manually by moving the valve to the venting position.
- Open the lid of the pot. Add lime juice and mix well.
- Add some more water if the dal is too thick. Check for salt and add more if needed. Keep in mind that it will continue to thicken once it starts to cool down. If you have added more water, then press the SAUTE button and bring the dal to a boil.
- To cook the dal in a traditional Indian pressure cooker, increase the amount of water to 4 cups and cook on high heat for one whistle. Then reduce the heat to low and cook for 10 minutes.
- Remove the cooker from heat and let the pressure release naturally.
- Open the lid of the pot. Add lime juice and mix well.
- Add some more water if the dal is too thick. Check for salt and add more if needed.
- Heat ghee in a small pan over medium-high heat.
- Once the ghee is hot, add asafetida and cumin seeds and let them crackle for 4-5 seconds.
- Add garlic and fry until lightly browned (40-50 seconds), stirring frequently.
- Switch off the heat and add chili powder to the pan. Immediately remove the pan from the heat. This step is important to prevent the chili powder from burning.
- Pour the tempering immediately over the warm dal and mix well. Serve hot.
Notes
- If you prefer a vegetarian option, skip the ghee and substitute it with oil.
- This dish pairs well with rice or flatbreads.
- The consistency of the dal can be adjusted with water as needed.
- Prep Time: 10 minutes
- Cook Time: 20 minutes
- Category: Main Course
- Method: Instant Pot
- Cuisine: Indian
Nutrition
- Serving Size: 1 cup
- Calories: 180
- Sugar: 2g
- Sodium: 500mg
- Fat: 6g
- Saturated Fat: 2g
- Unsaturated Fat: 4g
- Trans Fat: 0g
- Carbohydrates: 25g
- Fiber: 8g
- Protein: 10g
- Cholesterol: 0mg