Follow Me On Social Media!
Perfect Hard-Boiled Eggs Made Easy: No-Fail Method Revealed
Introduction to Perfect Hard-Boiled Eggs
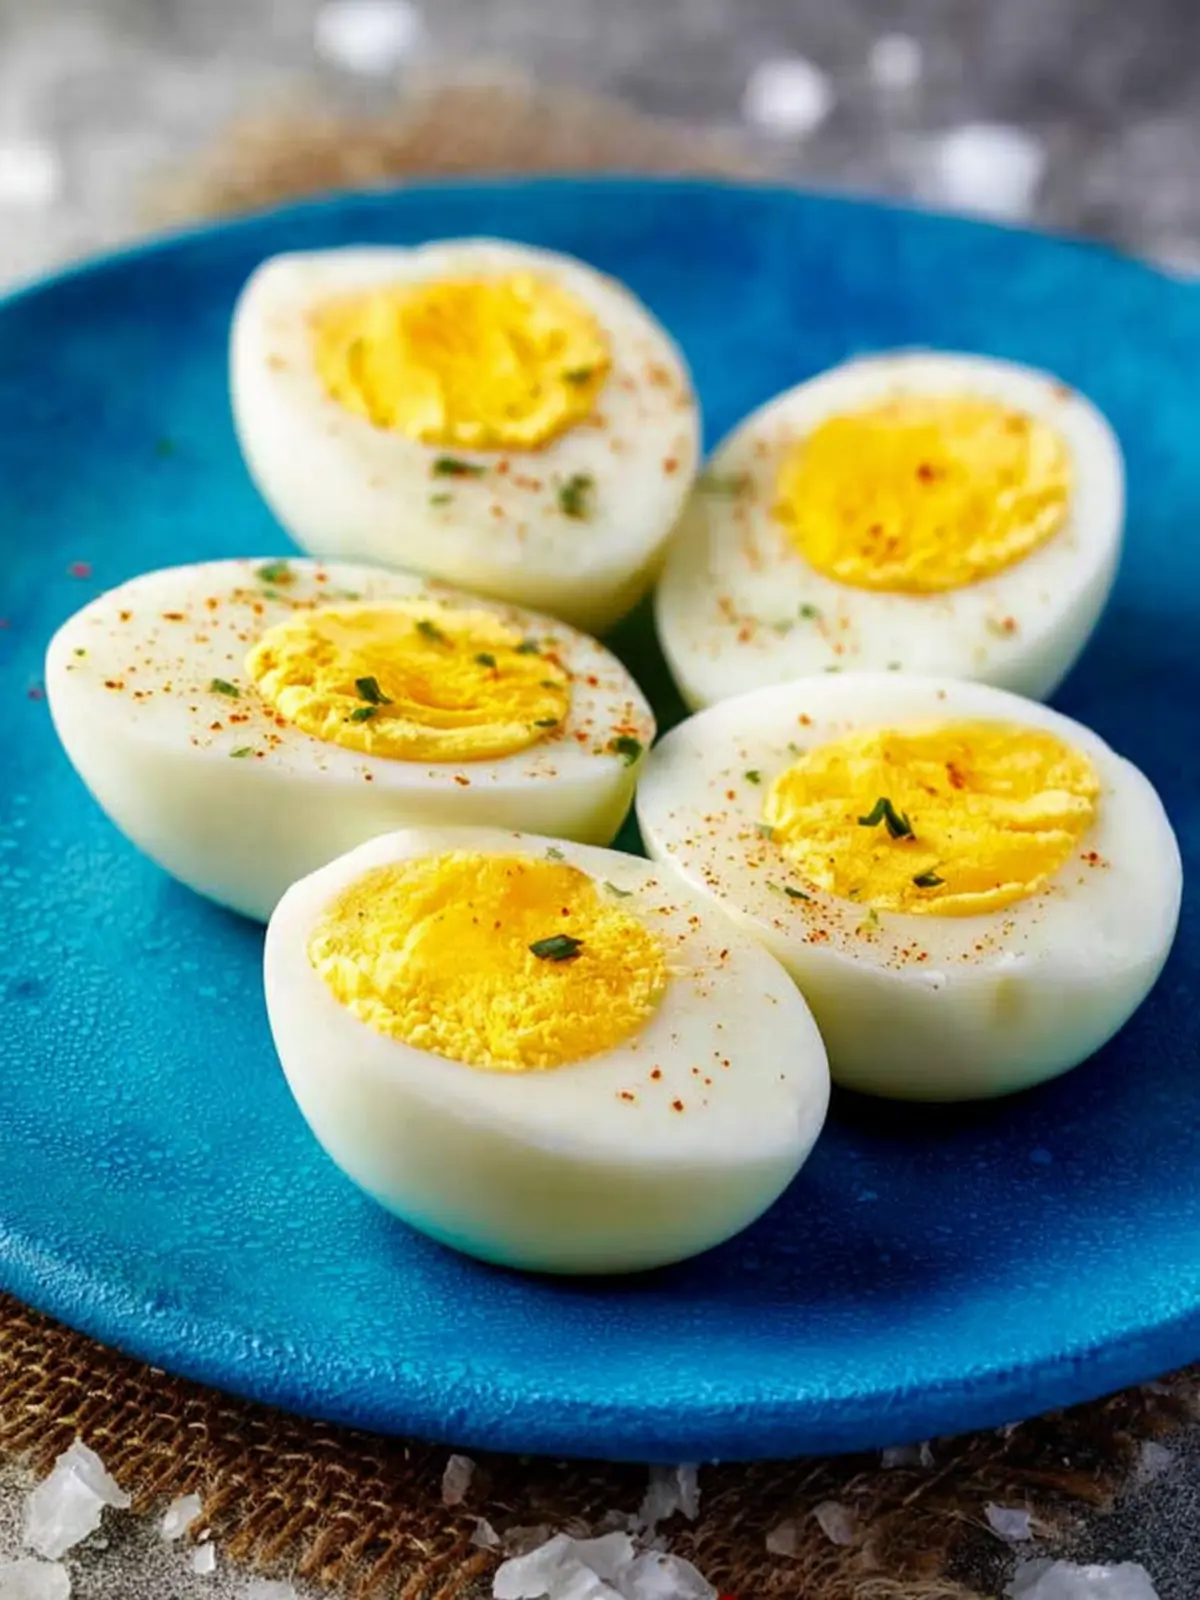
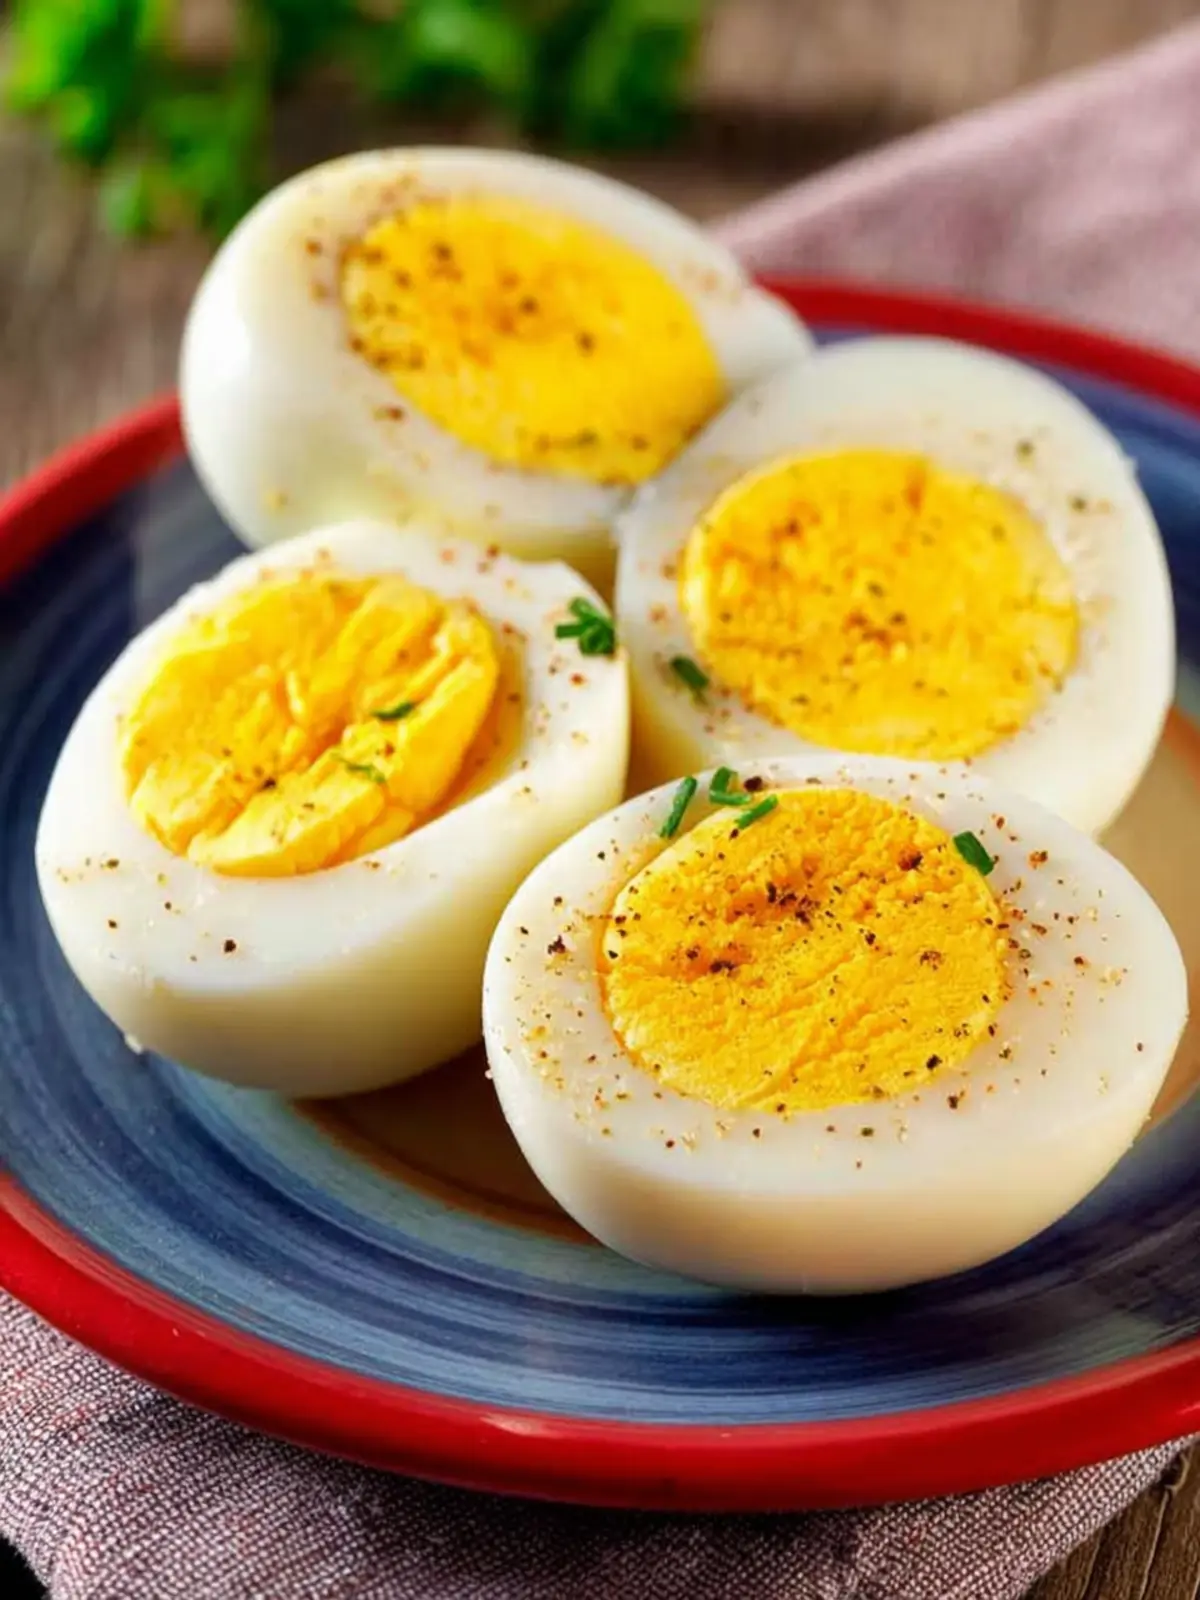
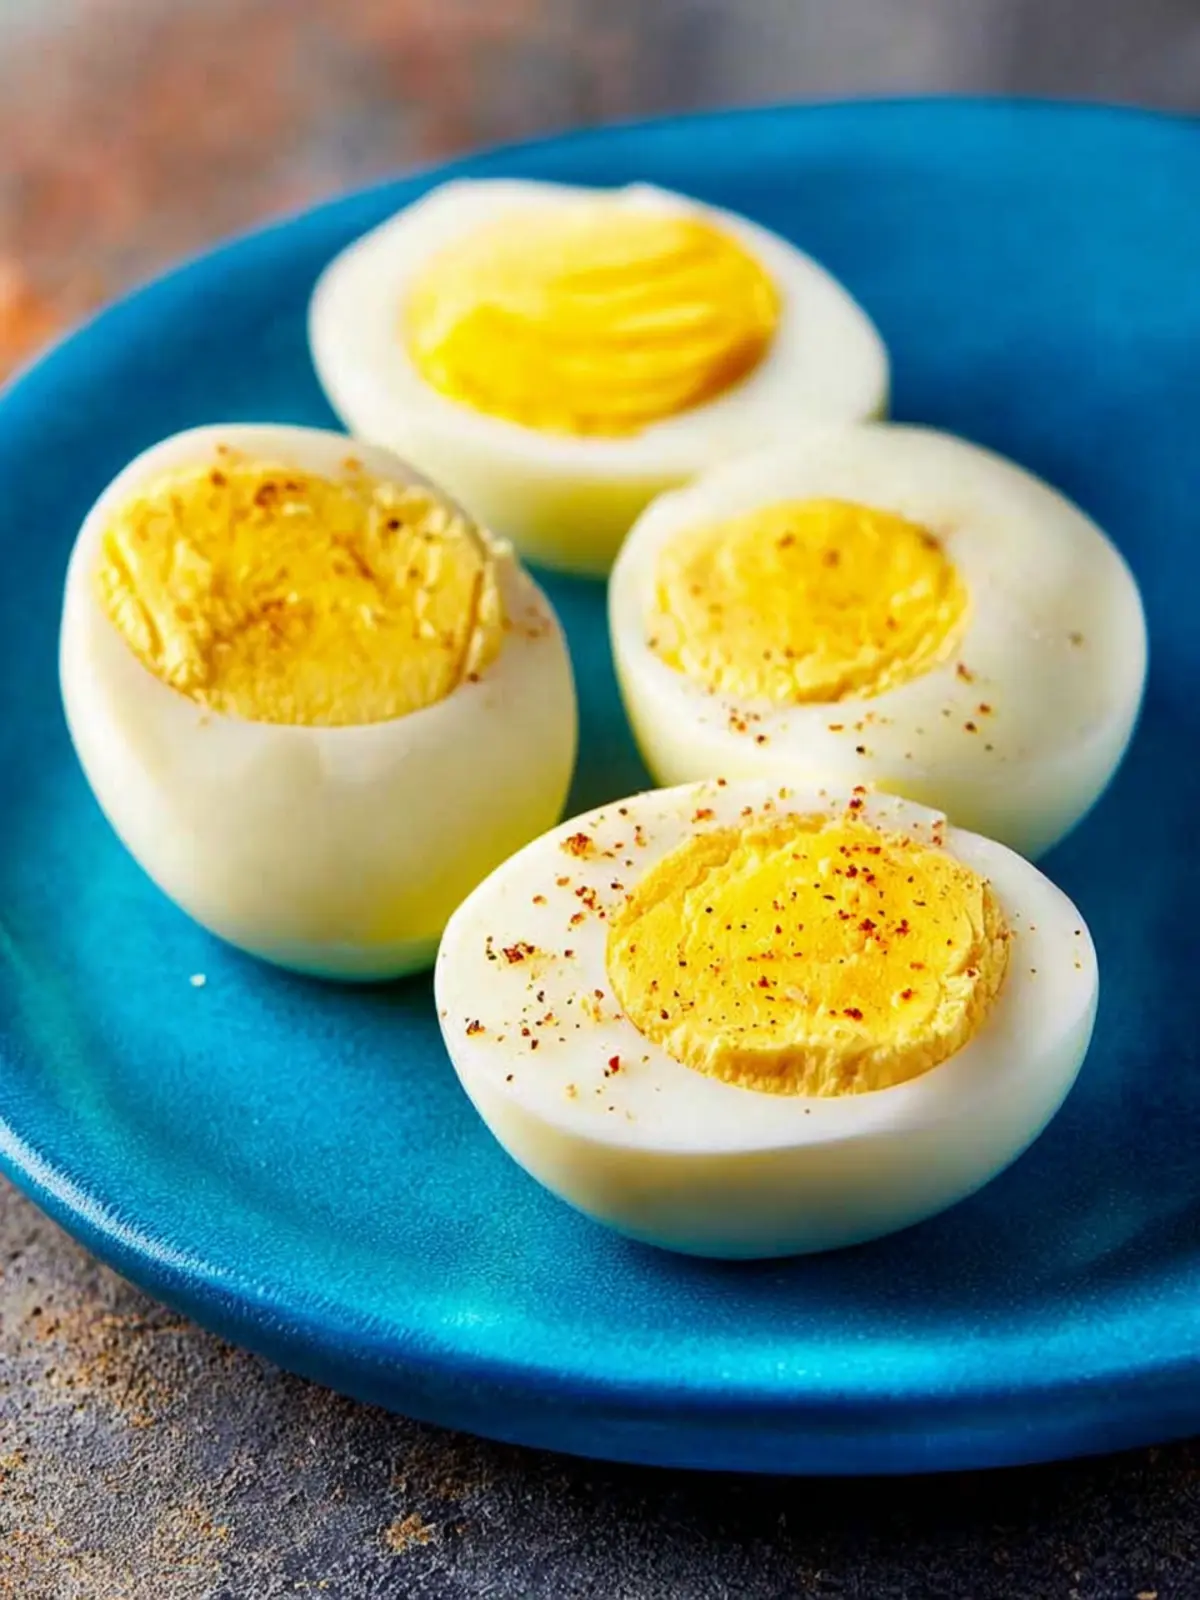
The allure of perfect hard-boiled eggs extends beyond their simple appearance; it’s about achieving that flawless, creamy yolk and tender white that pairs beautifully with salads, sandwiches, and snacks. As a young professional balancing a busy lifestyle, you might wonder how such a straightforward task can result in something so delicious. Picture yourself in the kitchen—water boiling, timer ticking—and the anticipation of cracking open an egg to find the exact texture you were hoping for.
Crafting perfect hard-boiled eggs is not just about following a recipe; it’s an art and a science. When you get it right, you experience that delightful feeling of accomplishment. Have you ever overcooked eggs, resulting in a rubbery texture and unsightly greenish-gray ring around the yolk? It’s a common pitfall that many face, but fear not! With the right technique, you can avoid those mishaps and create eggs that are as pleasing to the eye as they are to the taste buds.
What Makes the Perfect Hard-Boiled Egg?
Achieving perfect hard-boiled eggs boils down to three key elements: timing, temperature, and cooling. Here’s a closer look at each component:
-
Timing: The cooking time is critical. Whether you’re aiming for a slightly soft-centered egg or a fully set yolk, mastering the timing can make all the difference. Generally, 9 to 12 minutes in boiling water will give you a firmer yolk, while shorter times can result in a creamier center.
-
Temperature: Starting with cold eggs straight from the refrigerator ensures even cooking. If you have eggs at room temperature, they’ll need a slightly shorter cooking time. The initial water temperature also matters; starting with boiling water prevents the eggs from cracking and leads to a better texture.
-
Cooling: After cooking, immediately transfer the eggs to an ice bath. This step stops further cooking, leading to that ideal creamy yolk without a green ring. It also makes peeling easier, so you won’t end up with an unsightly exterior.
By focusing on these elements, you’ll soon be on your way to mastering perfect hard-boiled eggs every time. With a bit of practice and attention to detail, you can elevate your culinary game while enjoying a nutritious and versatile ingredient that’s ready for any meal or snack.
Key Ingredients for Perfect Hard-Boiled Eggs
Eggs: The star of our perfect hard-boiled eggs journey, eggs should be the freshest you can find. Farm-fresh eggs produce a richer flavor, while older eggs may be easier to peel after boiling. If you’ve ever struggled with peeling, consider using eggs that have been in your fridge for a week.
Water: The right water temperature can make a world of difference. Start with cold water that fully submerges the eggs. This ensures even cooking and helps prevent cracking.
Vinegar or Salt: Adding either vinegar or salt to the water can help maintain the integrity of the eggshell during boiling. Vinegar helps prevent the egg whites from leaking out if there’s a crack, while salt can make peeling a breeze.
Ice: An ice bath is crucial for stopping the cooking process and achieving that perfect tender yolk. A prepared bowl of ice water should be waiting nearby when your eggs are done boiling. This small step will help your perfect hard-boiled eggs shine!
Why You’ll Love This Recipe
Perfect hard-boiled eggs are not just an ordinary breakfast item; they’re a versatile ingredient that can elevate any meal. Imagine starting your day with a protein-packed breakfast or whipping up a quick lunch. How about some delicious avocado toast topped with a perfectly boiled egg? It’s all about that creamy yolk and firm white working in harmony to create a culinary delight.
One of the joys of this recipe is its simplicity. With just a couple of essential ingredients — eggs and water — and a straightforward cooking method, you’ll discover that achieving perfect hard-boiled eggs is not as daunting as it seems. Plus, there’s something satisfying about cracking that shell to reveal an immaculate, yolk-filled surprise inside.
Here are some reasons you’ll cherish this recipe:
- Time-Saving: With minimal prep and can be done in batches, perfect hard-boiled eggs are a great meal prep option.
- Nutritional Powerhouse: Packed with protein, vitamins, and healthy fats, they make for a solid snack or complement any meal.
- Endless Variations: From classic egg salad to deviled eggs, the possibilities are endless when it comes to using hard-boiled eggs in your recipes.
So, get ready to impress yourself and others with your newfound egg-cooking prowess!

Tips for Making Perfect Hard-Boiled Eggs
Creating perfect hard-boiled eggs can transform your meal prep from mundane to magnificent. Imagine a smooth, creamy yolk that’s neither chalky nor overcooked. Here’s how to achieve just that!
Choose the Right Eggs
Fresh eggs are great, but older eggs (around a week old) are actually better for boiling. They tend to peel more easily post-cooking because the pH level changes, making the whites less likely to stick to the shell.
Control Your Temperature
Start by placing your eggs in a single layer in a pot and cover them with cold water. Bring the water to a gentle simmer over medium heat. A rolling boil can lead to tough, rubbery eggs, so keep it calm!
Timing is Key
Once your water reaches a simmer, reduce the heat to low, cover the pot, and set a timer:
- For soft-boiled: 6-7 minutes.
- For medium: 8-9 minutes.
- For hard-boiled: 10-12 minutes.
A precise timing ensures your eggs cook evenly.
Ice Water Bath
After cooking, transfer your eggs to an ice water bath immediately. This stops the cooking process and makes peeling them much easier. Leave them in the ice bath for about 5-10 minutes.
By following these tips, you’ll master the art of making perfect hard-boiled eggs every single time!
Time Details for Perfect Hard-Boiled Eggs
When seeking out the perfect hard-boiled eggs, the timing can make all the difference in achieving that ideal, creamy yolk without any greenish tinge.
Preparation time
Set aside about 5 minutes to gather your eggs and equipment. While you won’t need long to prepare, ensuring you’re organized will streamline the process.
Cooking time
The cooking time for your eggs will range from 9 to 12 minutes, depending on how firm you prefer your yolks. A bit of testing might be needed to find your sweet spot!
Total time
From preparation to cooling, expect a total time investment of about 20-25 minutes. This includes around 10 minutes of cooling time in ice water to halt the cooking process and keep those yolks tender.
Nutritional Information for Perfect Hard-Boiled Eggs
When it comes to preparing perfect hard-boiled eggs, it’s not just about achieving the ideal consistency; knowing their nutritional value adds to the benefits. Each egg packs a punch of nutrition that complements your healthy lifestyle beautifully.
Calories
A single large hard-boiled egg contains about 70 calories. This makes it a low-calorie snack option, perfect for those watching their calorie intake without sacrificing flavor.
Protein
One of the stars in the nutritional profile of perfect hard-boiled eggs is protein. Each egg has around 6 grams of high-quality protein, making them a fantastic source to help build and repair tissues, especially after workouts.
Fat
Hard-boiled eggs contain about 5 grams of fat, primarily healthy fats. With roughly 1.5 grams being saturated fat, they provide a nutritious balance that keeps you satisfied and nourished.
Adding perfect hard-boiled eggs to your diet can elevate your meals while contributing to your health goals, making them a worthy staple in any kitchen.
FAQs about Perfect Hard-Boiled Eggs
When crafting perfect hard-boiled eggs, many people have questions that pop up as they embark on their culinary adventure. Let’s dive into some common queries to ensure your eggs turn out just right every time!
How long should you boil eggs for perfect hard-boiled eggs?
For achieving the ever-elusive perfect hard-boiled eggs, the boiling time is crucial. Start by placing your eggs in a single layer in a pot and covering them with cold water. Bring the water to a rapid boil over medium-high heat. Once boiling, cover the pot, remove it from the heat, and let the eggs sit for 9 to 12 minutes. For firmer yolks, aim for the higher end of that range. After cooking, transfer them to an ice bath for at least 5 minutes to stop the cooking process.
Are there any tips for peeling hard-boiled eggs easily?
Peeling can be the most frustrating part of making perfect hard-boiled eggs, but I’ve found a few tricks! First, using older eggs often results in easier peeling, as the pH level changes, reducing adhesion. After boiling, the ice bath not only cools the eggs but also helps create steam between the egg and the shell, leading to a smoother peel. Gently tapping and rolling the egg on a hard surface can also help to crack the shell evenly for easier removal.
What’s the best way to store hard-boiled eggs?
If you’re not eating your perfect hard-boiled eggs right away, proper storage is key. Keep the eggs in their shells, and store them in the refrigerator within two hours of cooking. They’ll stay fresh for up to one week. If you’ve already peeled them, place them in a container with a damp paper towel to prevent them from drying out, and consume within a few days for the best flavor and texture.
Conclusion on Perfect Hard-Boiled Eggs
Creating perfect hard-boiled eggs is a delightful journey, transforming a simple ingredient into a culinary staple that can elevate any meal. With precise timing and a few easy techniques, you can unlock the secret to achieving the ideal creamy yolk and firm white that every egg lover craves. Remember, cooling the eggs in an ice bath is essential for easy peeling and that perfect texture. Enjoy these versatile gems in salads, sandwiches, or simply seasoned with salt and pepper. Embrace the joy of cooking, and soon, you’ll always look forward to making these perfect hard-boiled eggs for any occasion!
Print
Tasty Recipe
- Total Time: 45 minutes
- Yield: 8 servings 1x
- Diet: Vegetarian
Description
Enjoy this delicious recipe!
Ingredients
Scale
- 2 cups flour
- 1 cup sugar
- 1/2 cup butter
- 1 cup milk
- 2 eggs
- 1 tbsp baking powder
- 1/2 tsp salt
Instructions
- Preheat the oven to 350°F (175°C).
- In a bowl, mix flour, sugar, baking powder, and salt.
- Add butter and mix until crumbly.
- Stir in milk and eggs until smooth.
- Pour into a greased baking dish and bake for 30 minutes.
- Let cool before serving.
Notes
- Can substitute butter with coconut oil for a dairy-free version.
- Add vanilla extract for additional flavor.
- Prep Time: 15 minutes
- Cook Time: 30 minutes
- Category: Dessert
- Method: Baking
- Cuisine: American
Nutrition
- Serving Size: 1 slice
- Calories: 250
- Sugar: 15g
- Sodium: 200mg
- Fat: 10g
- Saturated Fat: 5g
- Unsaturated Fat: 3g
- Trans Fat: 0g
- Carbohydrates: 35g
- Fiber: 1g
- Protein: 4g
- Cholesterol: 45mg