Follow Me On Social Media!
Oreo Pie: Decadently Simple Dessert You’ll Crave Again!
Introduction to Oreo Pie
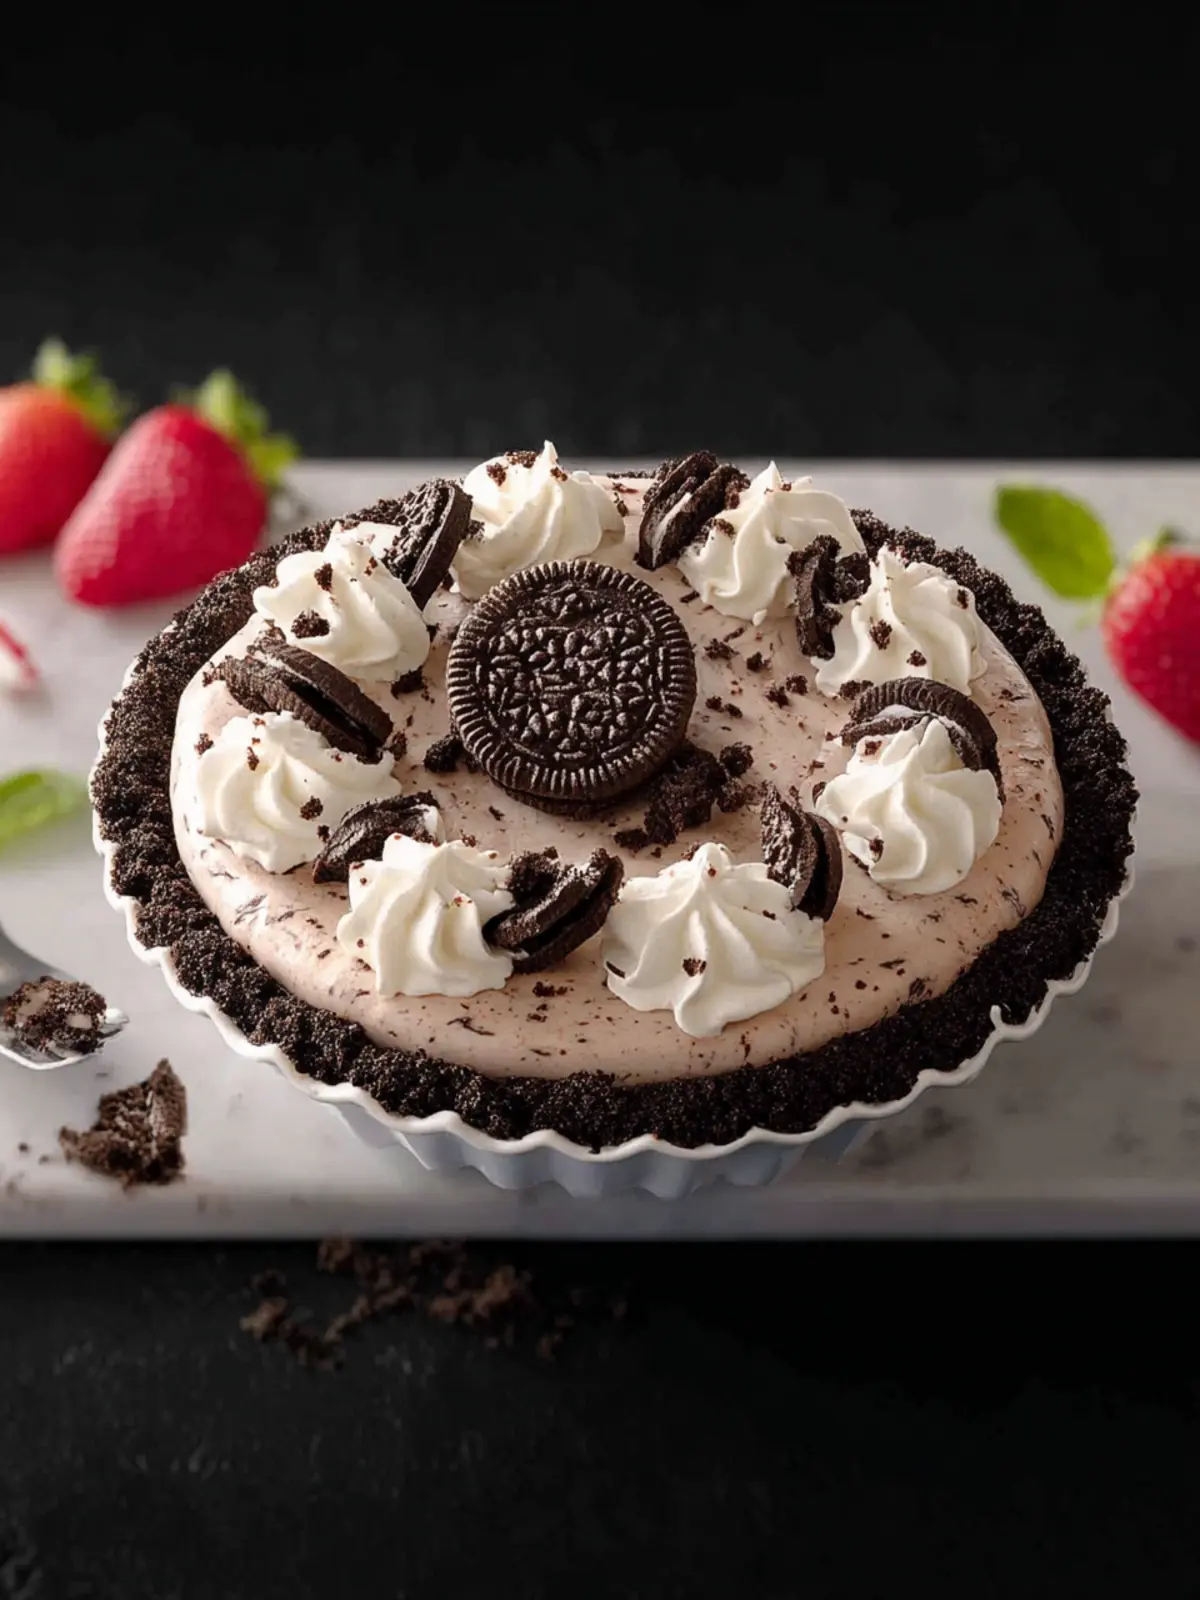
There’s something undeniably magical about Oreo Pie, a dessert that beautifully marries the classic crunch of Oreo cookies with a rich, creamy filling. Picture this: you’re at a gathering, and someone brings out a decadent slice of this delightful pie. The moment you take your first bite, your taste buds are greeted with layers of flavors that take you on a nostalgic journey. With its chocolatey cookie crust, smooth filling, and a touch of whipped cream, each slice offers a bite of pure happiness that can brighten even the gloomiest of days.
So, what makes Oreo Pie an irresistible treat? First and foremost, the combination of textures is simply delightful. The crunchy crust, made primarily from crushed Oreo cookies, contrasts beautifully with the velvety smooth filling. This perfect balance keeps you reaching for another slice, and perhaps even another!
Moreover, this dessert is incredibly versatile. Whether it’s a summer barbecue, a cozy gathering with friends, or a festive holiday celebration, Oreo Pie fits right in. It can be dressed up with toppings such as chocolate shavings, extra whipped cream, or even a sprinkle of crushed Oreos on top for added flair.
Let’s not overlook the nostalgia factor. Many of us have fond memories associated with Oreo cookies, from sharing them with family during movie nights to snacking on them after school. Turning this beloved cookie into a pie not only elevates it into a scrumptious dessert but also evokes sweet memories that make it even more special.
In essence, Oreo Pie is more than just a dessert; it’s a slice of joy that brings people together and creates lasting memories. So, whether you’re a novice baker or a seasoned pro, this is a simple yet impressive recipe that you’ll definitely want in your baking repertoire. Get ready to impress your friends and family with this unbeatable dessert!
What Makes Oreo Pie Irresistible?
-
Texture Contrast: The crunch of the crust complemented by the smooth filling.
-
Versatility: Perfect for any occasion with customizable toppings.
-
Nostalgia: A treat that invokes cherished memories of childhood.
-
Simplicity: Quick and easy to prepare, making it accessible for all skill levels.
These attributes come together to make Oreo Pie a dessert that is not only delicious but also deeply satisfying in more ways than one.
Key Ingredients for Oreo Pie
Creating a delightful Oreo Pie begins with carefully selected ingredients that perfectly capture the spirit of this beloved dessert. Each component plays a crucial role in delivering that creamy, chocolatey goodness we all crave.
-
Oreo Cookies: The star of the show! Using classic Oreo cookies is a must for the crust and filling. Not only do they provide incredible flavor, but their crunch adds a wonderful texture. If you’re in the mood for a twist, consider using a variation like peanut butter or mint Oreos.
-
Butter: This ingredient brings richness to our crust. By melting it and mixing it thoroughly with crushed Oreos, you’ll get that perfect binding that sets the foundation for our pie.
-
Cream Cheese: A key player in the filling, cream cheese needs to be softened for a smooth blend with the other ingredients. Its tanginess balances the sweetness and creates a velvety texture.
-
Whipped Topping: A generous dollop of whipped topping mingles beautifully with the cream cheese for a light, airy filling. Choose a good quality brand or make your own for an extra touch of freshness.
-
Sugar: A little granulated sugar enhances the sweetness without overpowering the flavors.
Making an Oreo Pie is not just about the ingredients; it’s about crafting a cherished moment with each creamy bite!
Why You’ll Love This Oreo Pie
Indulging in a slice of Oreo Pie feels like being wrapped in a warm blanket of nostalgia, evoking childhood memories with every creamy bite. If you adore the classic Oreo cookie, this rich dessert will become your new favorite go-to recipe. The combination of its luscious filling and crunchy cookie crust creates a delightful contrast that’s irresistible.
A Simple Yet Decadent Treat
What makes this Oreo Pie special is its simplicity. With minimal ingredients and straightforward steps, you don’t need to be a baking expert to successfully whip up this dessert. Just imagine surprising friends at your next gathering or enjoying a quiet night in with a slice of this goodness!
Perfect for Any Occasion
Whether you’re celebrating a birthday, hosting a movie night, or just craving something sweet, this pie fits the bill. The silky filling, made from cream cheese and whipped topping, blends perfectly with the crunchy base, elevating any ordinary moment into something memorable.
Versatile Flavors
What’s more, you can customize your Oreo Pie by trying different flavors of Oreos or even adding your twist with toppings. Want a chocolate drizzle or some whipped cream? Go for it!
Once you taste this delectable pie, you’ll understand why it deserves a spot in your dessert rotation. Enjoy your baking adventure!
Tips for Making the Perfect Oreo Pie
When creating a delectable Oreo Pie, it isn’t just about following a recipe; it’s about understanding each component’s role in achieving that silky texture and rich flavor. Here are some essential tips to elevate your pie game:
Choosing the Right Oreos
The classic Oreo cookie is a beloved favorite, but consider experimenting with different flavors, like double-stuffed or birthday cake. Each variety provides a unique twist to the filling and crust, enhancing the overall taste experience.
Mastering the Crust
For the perfect crust, finely crush the Oreos to create a smooth base. Using a food processor ensures even consistency. Don’t forget to mix in melted butter to bind everything together, allowing for a cohesive, buttery texture.
Be Mindful of Your Filling
When preparing the filling, soften the cream cheese to avoid lumps. This tip creates a velvety smoothness that complements the crispy Oreo crust beautifully. If you like a touch of extra richness, consider adding a splash of heavy cream to the filling.
Chill for the Best Results
Patience is key. Allow your Oreo Pie to chill in the refrigerator for at least four hours, or ideally overnight. Chilling helps the filling set properly and enhances the flavors.
Garnish Creatively
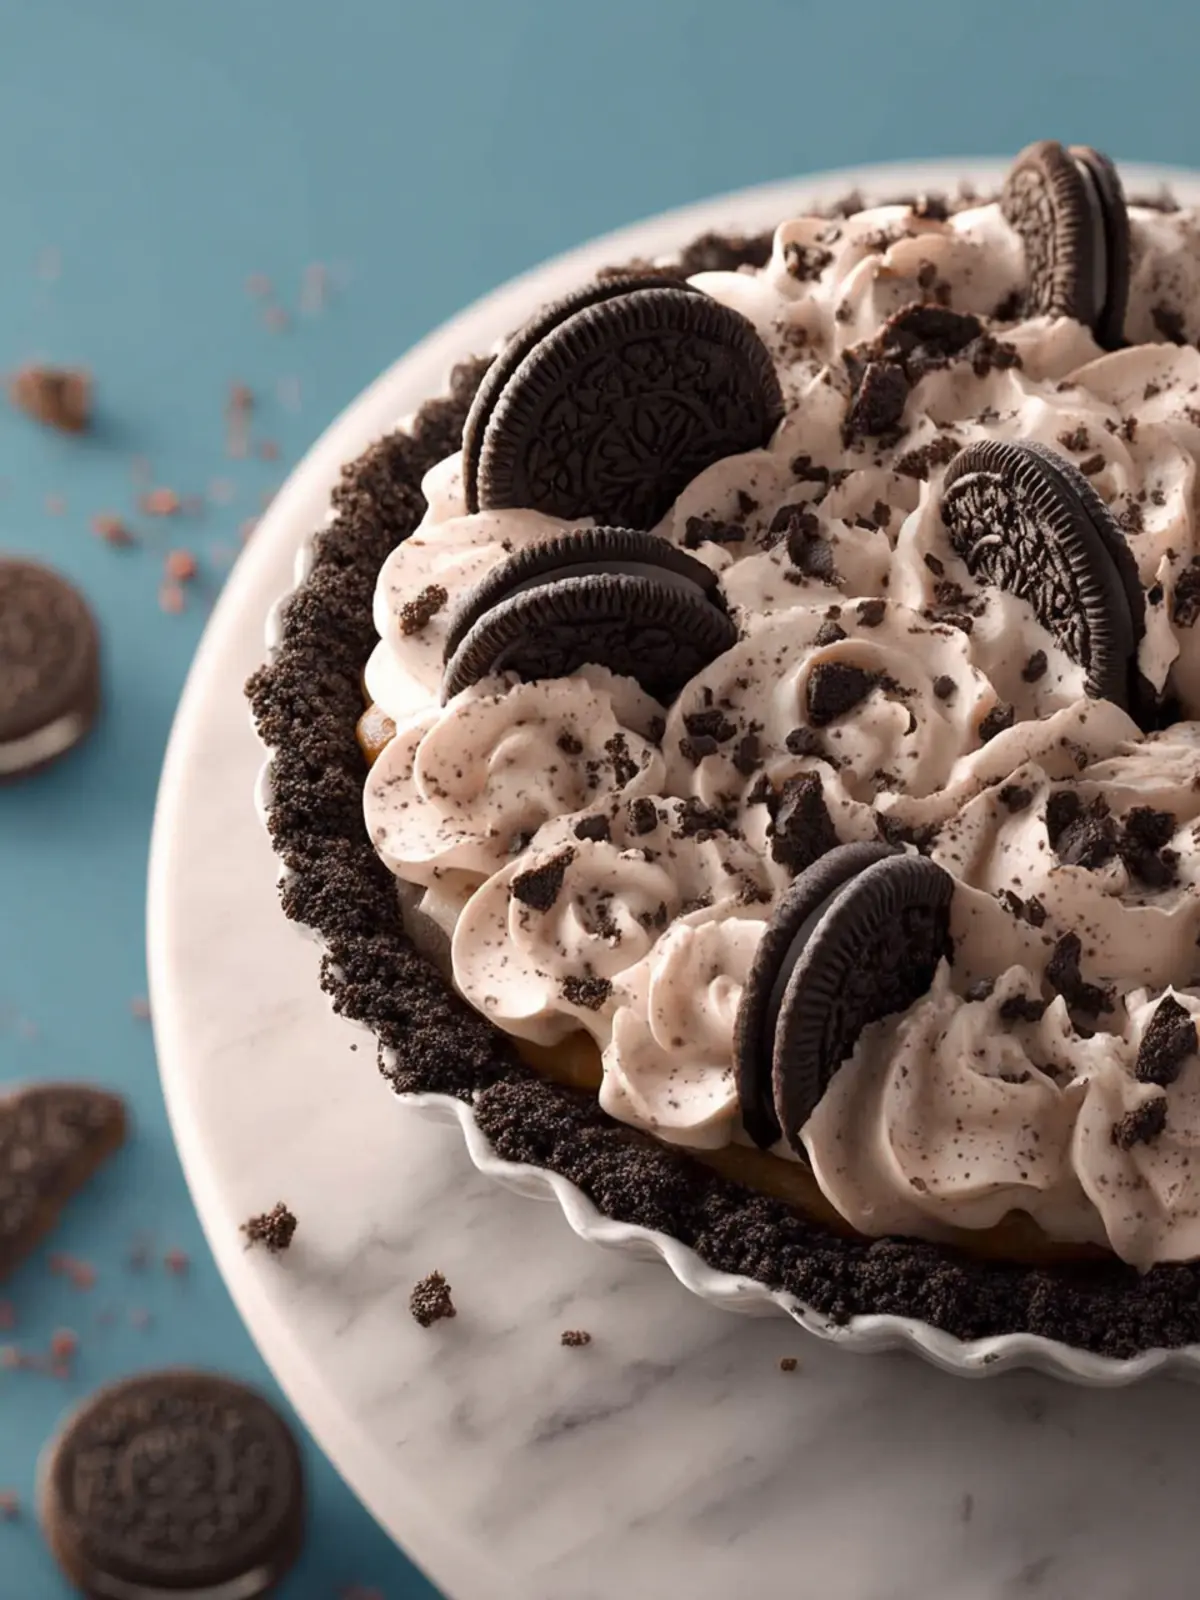
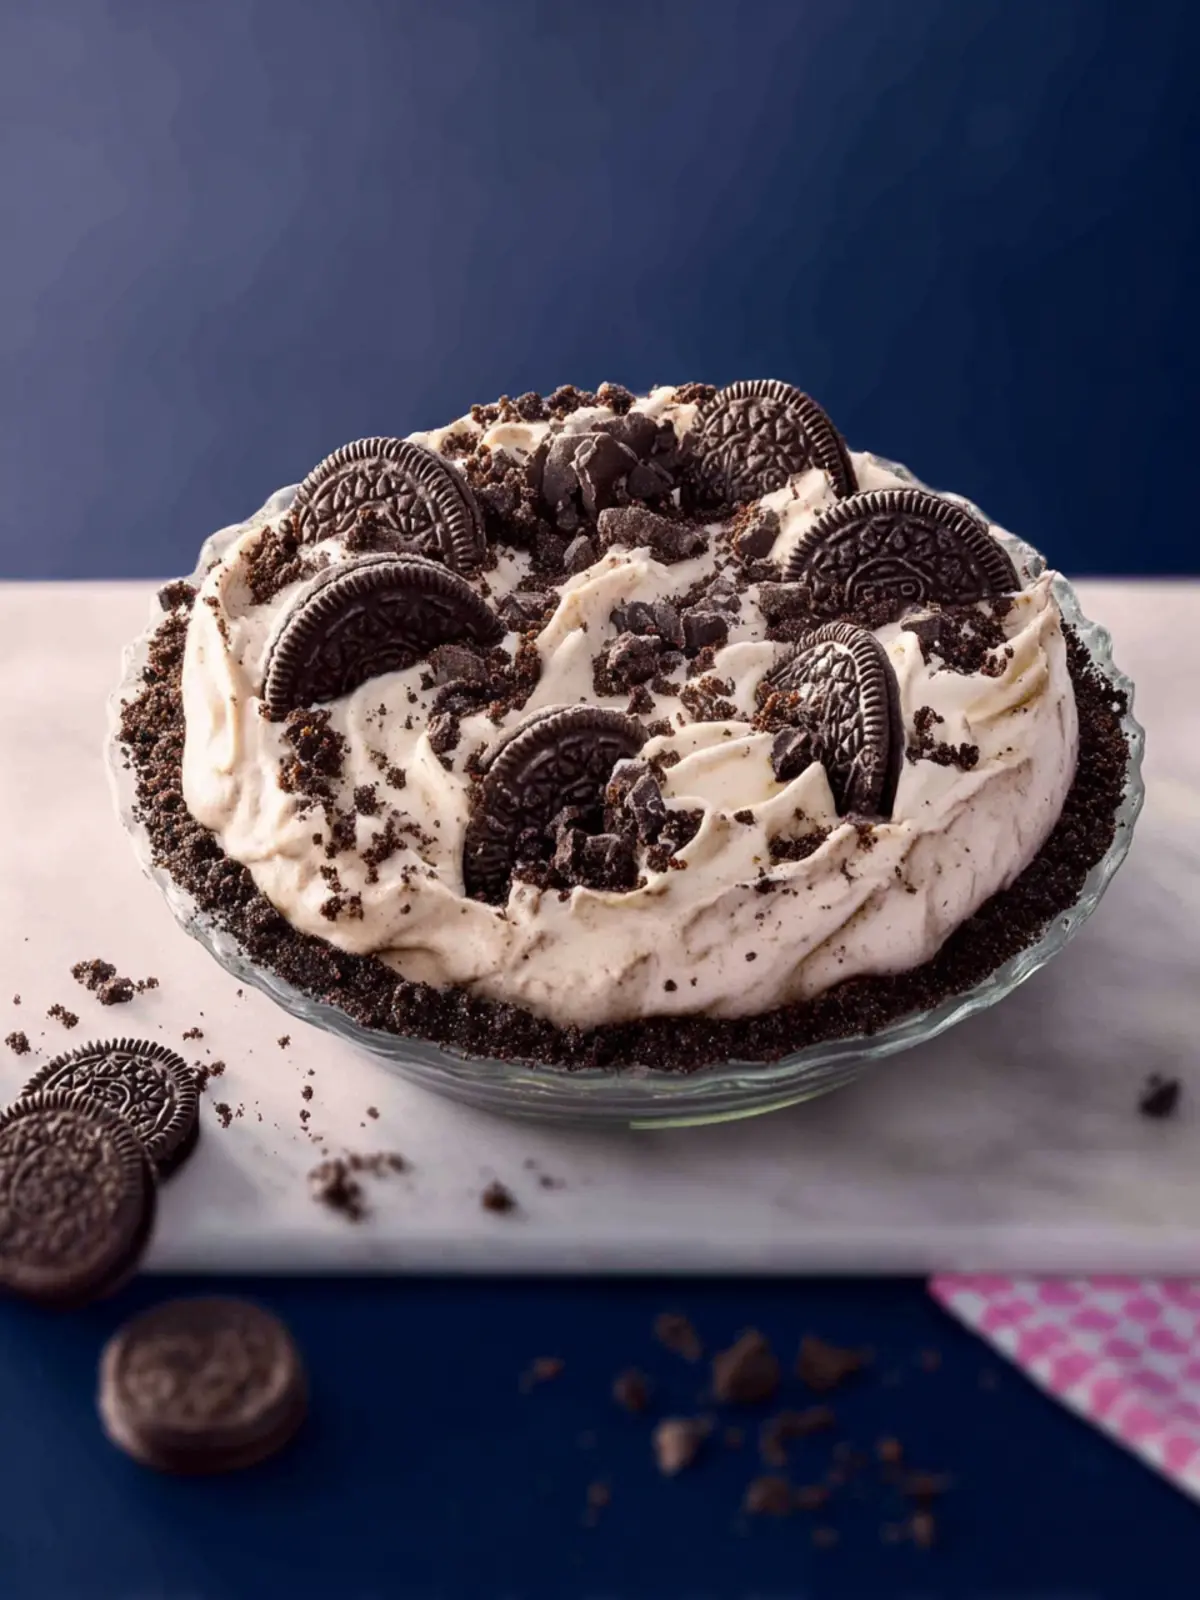
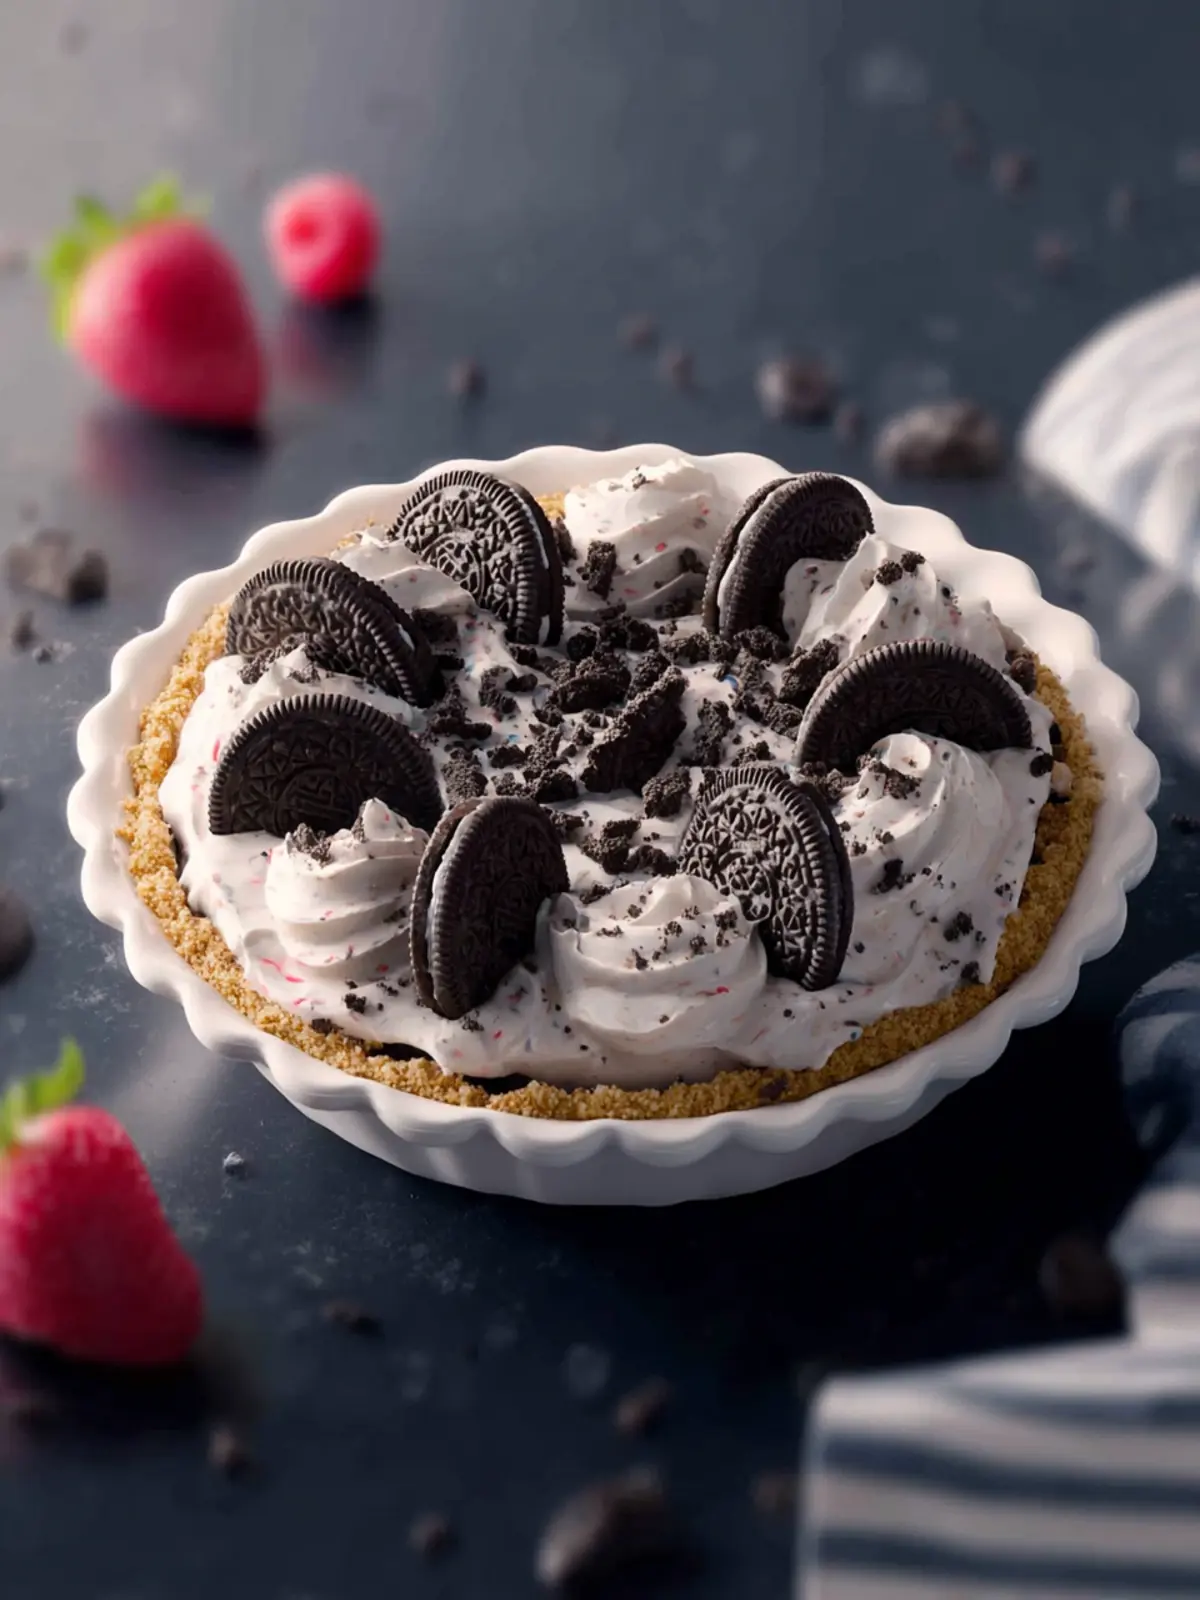
Top your pie with whipped cream, crushed Oreos, or even chocolate drizzle for an eye-catching finish. These additions not only make your pie look tempting but also add layers of texture and flavor!
With these tips in hand, your Oreo Pie is sure to impress friends and family alike! Enjoy the process and happy baking!
Time Breakdown for Oreo Pie
Creating a delightful Oreo Pie can be a joyful experience, and knowing how to manage your time will enhance that process. Here’s a quick guide to help you plan.
Preparation Time
Your pie comes together in just 15 minutes! It’s quite simple to crush those Oreos and mix the filling. You’ll be amazed at how quickly you can set it up.
Freezing Time
This is where the patience pays off. You’ll need to freeze your Oreo Pie for at least 4 hours, allowing the flavors to meld beautifully.
Total Time
All in all, you can make this scrumptious Oreo Pie in about 4 hours and 15 minutes, including prep and freeze time. Perfect for an evening gathering or a sweet treat for yourself!
Nutritional Information for Oreo Pie
When diving into the delightful world of Oreo Pie, it’s essential to understand what you’re indulging in. Not only does this dessert bring joy with its creamy texture and chocolatey base, but it’s also helpful to know the nutritional aspects. Here’s a quick breakdown:
Calories
A generous slice of Oreo Pie typically contains around 350-400 calories. While it’s a treat best enjoyed in moderation, it’s worth every calorie for its deliciousness.
Protein
In terms of protein, you can expect about 4-5 grams per slice. This may seem modest, but remember, this is a dessert, not a protein-packed meal!
Sugars
As for sweetness, an average slice holds approximately 30 grams of sugar. This sweetness contributes to the rich flavor profile but be mindful if you’re watching your sugar intake.
Enjoy savoring every bite of your Oreo Pie while being informed about its nutrition!
FAQs about Oreo Pie
Finding the perfect Oreo Pie recipe can intrigue anyone who loves the classic cookie. It invites you to experiment in the kitchen, blending creamy textures with crumbly treats, creating fond memories one slice at a time. To help you on your delicious journey, here are some frequently asked questions that ensure your pie turns out perfectly.
Can I use reduced-fat Oreos?
Absolutely! Using reduced-fat Oreos can slightly alter the texture, making the pie a little less rich but still very tasty. The flavor remains similar, so if you’re looking for a lighter version, feel free to swap out regular Oreos for reduced-fat ones. Just keep in mind that this could affect the consistency of your Oreo Pie filling, potentially making it a bit less creamy.
How do I store leftover Oreo pie?
If you find yourself with leftover Oreo Pie, you’ll want to store it properly to maintain its deliciousness. Cover the pie with plastic wrap or transfer it to an airtight container, and place it in the refrigerator. It can last for about 3–4 days. Just remember to let it sit at room temperature for a few minutes before serving to savor that creamy goodness!
Can I make this pie ahead of time?
Yes! One of the great things about Oreo Pie is that it can be made a day in advance. This actually allows the flavors to meld beautifully, enhancing your dessert experience. Just remember to refrigerate it properly and give it some time to come to room temperature before serving, so that every bite is as delightful as possible.
Enjoy crafting your Oreo Pie and sharing it with friends – it’s sure to be a hit!
Conclusion on Oreo Pie
As you take that first bite of your homemade Oreo Pie, you’ll realize why this dessert is a favorite among many. The creamy filling, perfectly balanced with a crunchy crust, creates a symphony of flavors that satisfies your sweet tooth in every way imaginable. It’s not just a pie; it’s a memory waiting to happen, whether at a cozy dinner with friends or a special celebration. Remember, the key to a truly remarkable Oreo Pie lies in using fresh ingredients and taking the time to chill it properly. Enjoy this delightful creation, and don’t be surprised if it quickly becomes a staple in your baking repertoire!
Print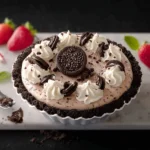
No-Bake Oreo Cheesecake
- Total Time: 6 hours 30 minutes
- Yield: 8 servings 1x
Description
A delicious no-bake cheesecake made with Oreos and cream cheese.
Ingredients
Scale
- 24 Oreos
- ¼ cup unsalted butter (melted)
- 1 cup heavy whipping cream
- 1 (8-ounce) block cream cheese (room temperature)
- ¾ cup confectioners’ sugar
- 1½ teaspoons vanilla extract
- 20 Oreos (chopped, plus more for garnish)
- Whipped cream (for serving)
Instructions
- Lightly spray a 9-inch pie pan with cooking spray.
- In the bowl of a food processor, process the Oreos until finely ground, about 30-45 seconds. Place in a medium bowl, and stir in the melted butter until well combined. Press the mixture into the bottom and sides of the pie pan. Freeze while preparing filling, or at least 30 minutes and up to 3 days.
- In a large bowl using a handheld electric mixer, beat the cream on medium-high speed until stiff peaks form, about 2 minutes.
- In another large bowl, beat the cream cheese on medium-high speed until smooth and fluffy, about 2 minutes. (No need to clean beaters between the cream and cream cheese.) Add the confectioners’ sugar and vanilla, beating until smooth, about 1 minute. Gently fold in the whipped cream and chopped Oreos until combined.
- Spoon the filling into the frozen crust, spreading it into an even layer. Loosely cover and refrigerate until set, at least 6 hours or up to 2 days.
- When ready to serve, top with additional whipped cream and Oreos, if desired.
Notes
- This cheesecake can be made ahead of time and stored in the refrigerator for up to 2 days.
- Make sure the cream cheese is at room temperature for easier mixing.
- Prep Time: 30 minutes
- Category: Dessert
- Method: No-Bake
- Cuisine: American
Nutrition
- Serving Size: 1 slice
- Calories: 350
- Sugar: 25g
- Sodium: 150mg
- Fat: 25g
- Saturated Fat: 15g
- Trans Fat: 0g
- Carbohydrates: 30g
- Fiber: 2g
- Protein: 4g
- Cholesterol: 60mg