Follow Me On Social Media!
Colorful Stained Glass Cookies: A Sweet Indulgence to Share
Introduction to Colorful Stained Glass Cookies Recipe
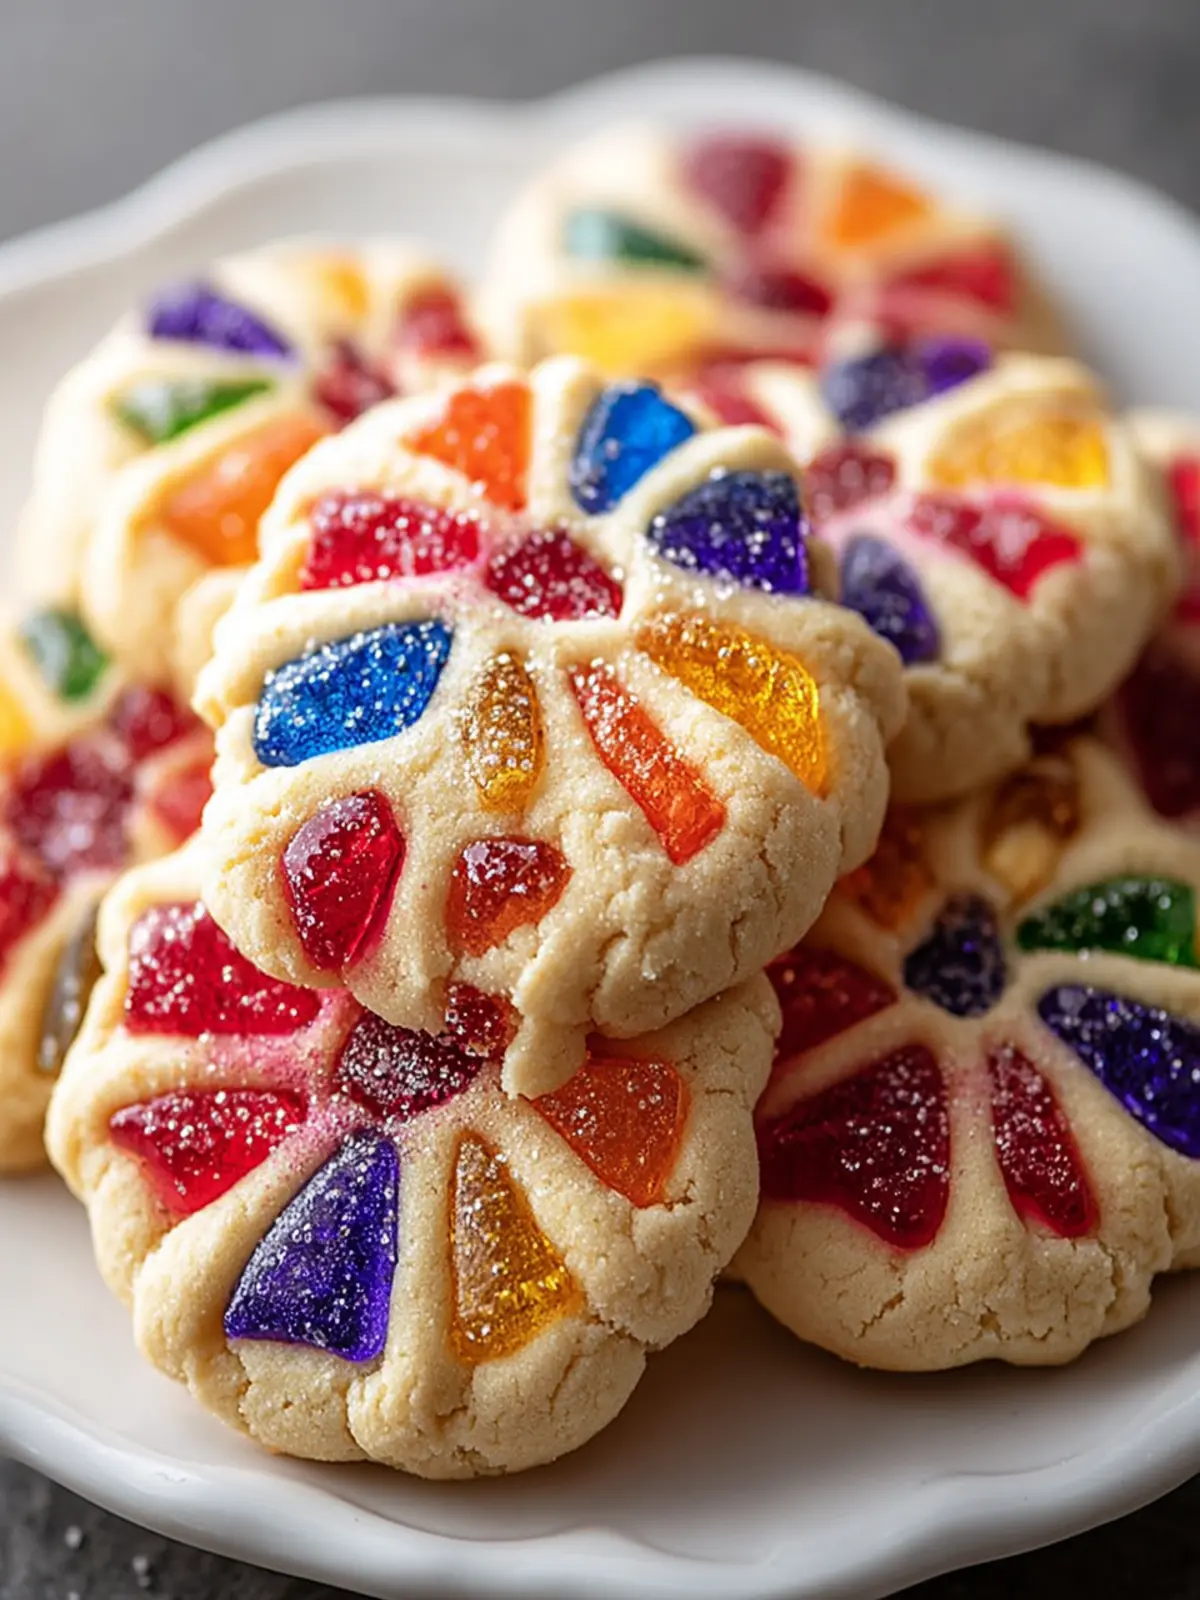
In the world of baking, few treats can compete with the whimsical appeal of colorful stained glass cookies. Imagine a warm, buttery sugar cookie, beautifully decorated with vibrant windows of melting candy that catch the light. This delightful treat not only pleases the palate but also dazzles the eye, making it a standout at any gathering. Picture this: you’re hosting a cozy holiday get-together or a sunny afternoon tea, and the table is adorned with these charming cookies. Guests are drawn to them like moths to a flame, their colors sparking joy and intrigue.
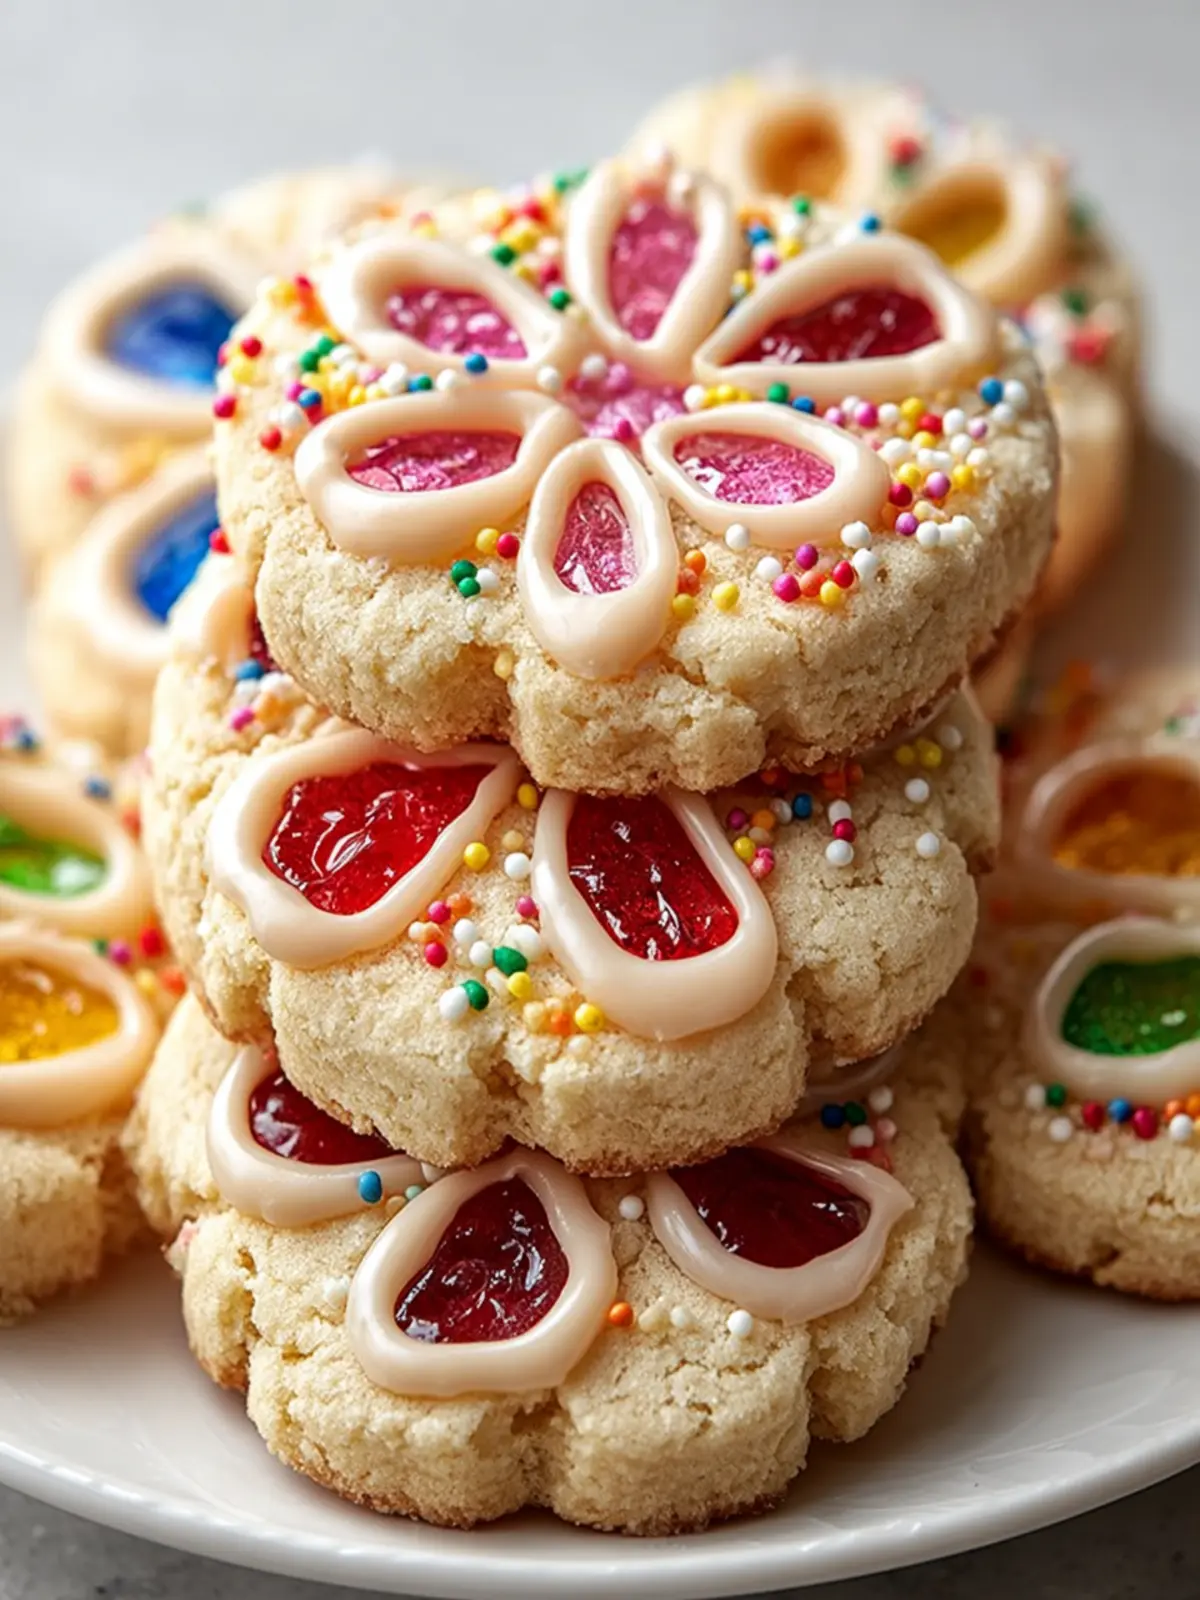
What’s more, these cookies are incredibly versatile! They make an excellent addition to birthday parties, festive celebrations, or even as a thoughtful homemade gift for friends or family. The recipe is surprisingly straightforward, meaning it’s a perfect starting point for novice bakers and an enjoyable challenge for seasoned pros. Plus, you can customize the colors and shapes to suit any theme or occasion, from snowflakes for winter events to flowers for springtime gatherings.
Why these cookies will steal the show!
There’s something truly special about colorful stained glass cookies that makes them buzzworthy. Their eye-catching appeal is rooted in their vibrant colors, achieved through flavored hard candies like Jolly Ranchers or Life Savers that melt and create stunning translucent windows. Not only do they look incredible, but they also offer a delightful mix of textures and flavors—a crunchy cookie paired with sweet, chewy candy.
- Conversation Starters: The artistic nature of these cookies invites compliments and starts conversations.
- Creative Outlet: Baking allows you to express your creativity. You can choose your favorite colors and shapes, making each batch unique.
- Endless Variations: Want fruity flavors? Go for fruit-flavored candies. Loving that classic combo? Opt for chocolate!
Engaging in this baking adventure isn’t just about eating well—it’s about creating memorable experiences. So, gather your ingredients and let’s embark on making your kitchen filled with warmth, color, and the irresistible aroma of freshly baked colorful stained glass cookies.
Key Ingredients for Colorful Stained Glass Cookies
Creating colorful stained glass cookies is an exciting adventure in baking, as you combine basic ingredients to craft a visually stunning and tasty treat. Each element plays a crucial role, ensuring your cookies turn out deliciously beautiful.
All-purpose flour
This is the foundation of our cookies, providing the right structure and chewiness for that perfect bite every time. Opt for a good-quality all-purpose flour to ensure your cookies hold their shape while baking.
Unsalted butter
Using softened unsalted butter creates a rich, delicious flavor and contributes to a tender texture in each cookie. It’s essential to allow your butter to come to room temperature for that creamy consistency when mixed with sugar.
Granulated sugar
Sweetness is essential! White granulated sugar helps to achieve that delightful sweetness while also aiding in the cookie’s rise. The amount used can truly influence the final taste, so don’t skimp on it!
Eggs
Essential for binding the ingredients and adding moisture, eggs also help create a lovely, tender crumb in cookies. Make sure your eggs are at room temperature for the best layering effect.
Pure vanilla extract
A hint of vanilla elevates the flavor, making your cookies irresistible. Using pure vanilla extract is a small but impactful choice that enhances the overall taste profile.
Baking powder
This essential leavening agent gives our cookies the perfect rise and soft texture. A little goes a long way, so be sure to measure accurately.
Salt
A pinch of salt enhances the overall flavor, balancing the sweetness. It’s amazing how this small ingredient can amplify the taste of your cookies!
Assorted hard candies
Crushed candies create the gorgeous stained glass effect in the cookie windows, adding color and sweetness. Choose a mix of bright and bold colors to make your cookies visually striking.
With these key ingredients, you’re all set to create your very own colorful stained glass cookies! Get ready to impress friends and family with both the aesthetics and flavors of this delightful treat.
Why You’ll Love This Recipe
Creating delicate, colorful stained glass cookies provides not just a tasty treat but a delightful experience. Picture a gathering with friends, where the sparkle of these cookies grabs everyone’s attention, sparking joy and conversation. It’s amazing how a simple cookie can become the centerpiece of a festive occasion!
Eye-Catching Appeal
The vibrant colors of these cookies aren’t just visually stunning; they also serve as a great conversation starter. Imagine sharing your baking success with friends who can’t wait to take a bite. The appeal of these cookies often exceeds that of traditional ones, making them a hit at parties and gatherings.
Family-Friendly Activity
What makes this recipe even better is its ability to engage everyone in the kitchen. Whether you have little helpers or just friends appreciating the art of baking, shaping and decorating these cookies can turn into a fun activity that strengthens bonds.
Versatile Flavor Combinations
With the flexibility to experiment with various jolly rancher flavors for the stained glass effect, you can tailor each batch of cookies to fit the taste preferences of your guests. Love cherry? Go for it. Prefer green apple? There’s no limit to your creativity.
With these delightful colorful stained glass cookies in your baking repertoire, not only will you impress your guests, but you’ll create lasting memories around the kitchen table.
Tips for Making Perfect Stained Glass Cookies
Creating colorful stained glass cookies is akin to crafting a mosaic — each piece plays a pivotal role in the finished masterpiece. Here are some essential tips that can elevate your cookie-making game.
Choose Quality Ingredients
- Butter: Use unsalted butter for a better control over the sweetness. It helps you achieve a rich, creamy texture.
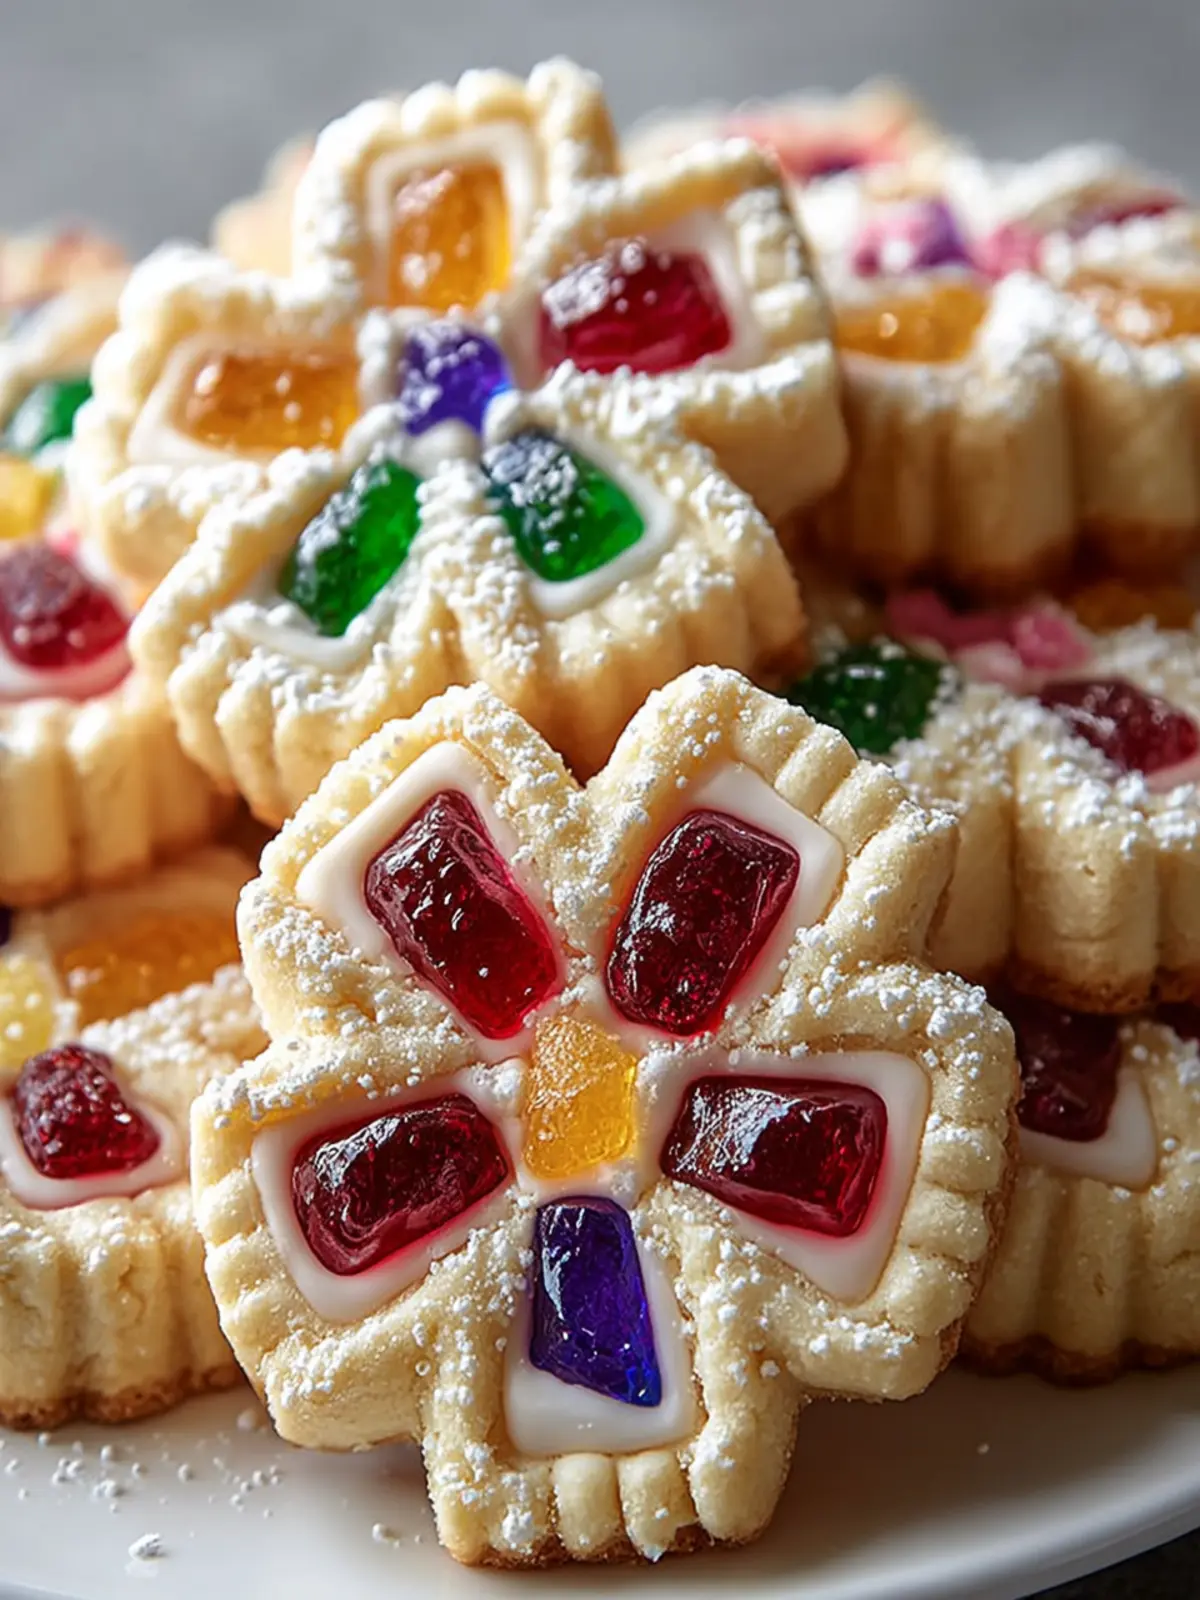
- Sugar: Granulated sugar adds the right amount of sweetness, while powdered sugar can be sprinkled on finished cookies for a beautiful finish.
- Gelatin Candies: For that stunning stained glass effect, opt for high-quality gelatin candies. They should melt beautifully, creating vibrant windows in your cookies without compromising their structure.
Master the Dough
- Chill Time: After mixing your dough, don’t skip chilling it for at least an hour. This step is crucial as it prevents the cookies from spreading too much during baking.
- Rolling Technique: Roll your dough evenly with a floured surface to avoid thin spots that could burn.
Perfecting the Baking
- Baking Time: Keep a close eye on the cookies as they bake. Ideally, they should be golden around the edges while maintaining a slightly soft center.
- Cooling Process: Let your colorful stained glass cookies cool completely on a wire rack. This will help the melted candies set, ensuring a pristine finish.
With these thoughtful tips in mind, you’re well on your way to impressing friends and family with your stunning creations!
Time Details for Colorful Stained Glass Cookies
When it comes to creating colorful stained glass cookies, the joy is not just in the decoration but also in the journey of making them! Preparing these delightful treats is a fun-filled experience, perfect for gatherings or family activities.
Preparation time
It takes about 30 minutes to prepare your cookie dough and get those vibrant candies ready for melting.
Baking time
Once your dough is rolled out and shaped, the baking process will only take around 10-12 minutes. Keep an eye on those cookies; you want them to be just golden!
Total time
In total, you can expect to spend about 45-50 minutes from start to finish making your colorful stained glass cookies. It’s a quick yet rewarding project!
Nutritional Information for Colorful Stained Glass Cookies
When you indulge in colorful stained glass cookies, you’re not just delighting your taste buds; you’re also curious about what’s fueling your treat! Below, you’ll find the key nutritional components that will help you enjoy these beautiful cookies guilt-free.
Calories
Each colorful stained glass cookie contains approximately 90 calories. While this is a delightful snack, it’s wise to enjoy them in moderation if you’re watching your caloric intake.
Protein
In terms of protein, these cookies offer around 1.5 grams per cookie. Though not a primary protein source, they can add a fun touch to your snack lineup.
Sodium
With about 50 milligrams of sodium per cookie, these colorful stained glass cookies are relatively low in salt, making them a suitable option for a sweet treat without overdoing your daily sodium limits.
This nutritional breakdown makes your indulgence just a little bit sweeter! Enjoy crafting and sharing these irresistible cookies!
FAQs about Colorful Stained Glass Cookies
When it comes to colorful stained glass cookies, the enchanting blend of vibrant hues and sweet flavors makes them a delightful treat for any occasion. Here are some common questions that might help you make the most of your baking experience.
Can I use different candies for the stained glass effect?
Absolutely! While traditional stained glass cookies often use translucent hard candies like Jolly Ranchers, feel free to get creative. You can try different types of hard candies or even gummy candies for unique effects. Just keep in mind that the melting properties may vary, so slightly adjust your baking time if needed.
How should I store these cookies?
To keep your colorful stained glass cookies fresh, store them in an airtight container at room temperature. This helps maintain their crispness for about a week. If you live in a particularly humid area, consider adding a piece of bread to the container; it will absorb excess moisture, preventing the cookies from becoming stale.
What should I do if my dough is too soft to work with?
If you find your dough to be a bit too soft, don’t worry! This is a common issue, especially if your butter was too warm. Simply chill the dough in the refrigerator for about 30 minutes. This will firm it up, making it easier to roll out and cut into your desired shapes. If it’s still too sticky, a light dusting of flour on your work surface can also help.
Whether you’re baking for a celebration or just to satisfy your sweet tooth, these cookies are sure to impress!
Conclusion on Colorful Stained Glass Cookies
These colorful stained glass cookies are more than just a treat; they are a canvas of creativity that can light up any gathering. Baking and decorating them offers a delightful opportunity to bond with friends or family, creating lasting memories around the kitchen. The satisfying crunch as you bite into these beautiful cookies, paired with the sweetness of the candy glass, makes every moment spent enjoying them worthwhile. Don’t hesitate to experiment with different colors and shapes, making them uniquely yours. Remember, every batch is a celebration of flavor and artistry. Happy baking!
Print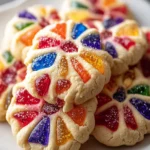
Colorful Stained Glass Cookies Recipe
- Total Time: 40-42 minutes
- Yield: 24 cookies 1x
Description
Delicious and visually stunning stained glass cookies, perfect for festive occasions!
Ingredients
Scale
- 2 ½ cups all-purpose flour
- 1 cup unsalted butter (softened)
- 1 cup granulated sugar
- 2 large eggs
- 1 teaspoon pure vanilla extract
- 1 teaspoon baking powder
- ½ teaspoon salt
- about 1 cup assorted hard candies (like Jolly Ranchers), crushed
- as needed powdered sugar (optional, for dusting)
Instructions
-
Preparation:
- Preheat your oven to 350°F (175°C).
- Line baking sheets with parchment paper or silicone mats.
-
Making the Dough:
- In a large bowl, beat the softened butter and granulated sugar together until light and fluffy.
- Add the eggs one at a time, mixing well after each addition.
- Stir in the vanilla extract.
- In a separate bowl, whisk together the flour, baking powder, and salt.
- Gradually mix the dry ingredients into the wet ingredients until combined. The dough should be soft but manageable.
-
Shaping the Cookies:
- Roll out the dough on a lightly floured surface to about ¼ inch thickness.
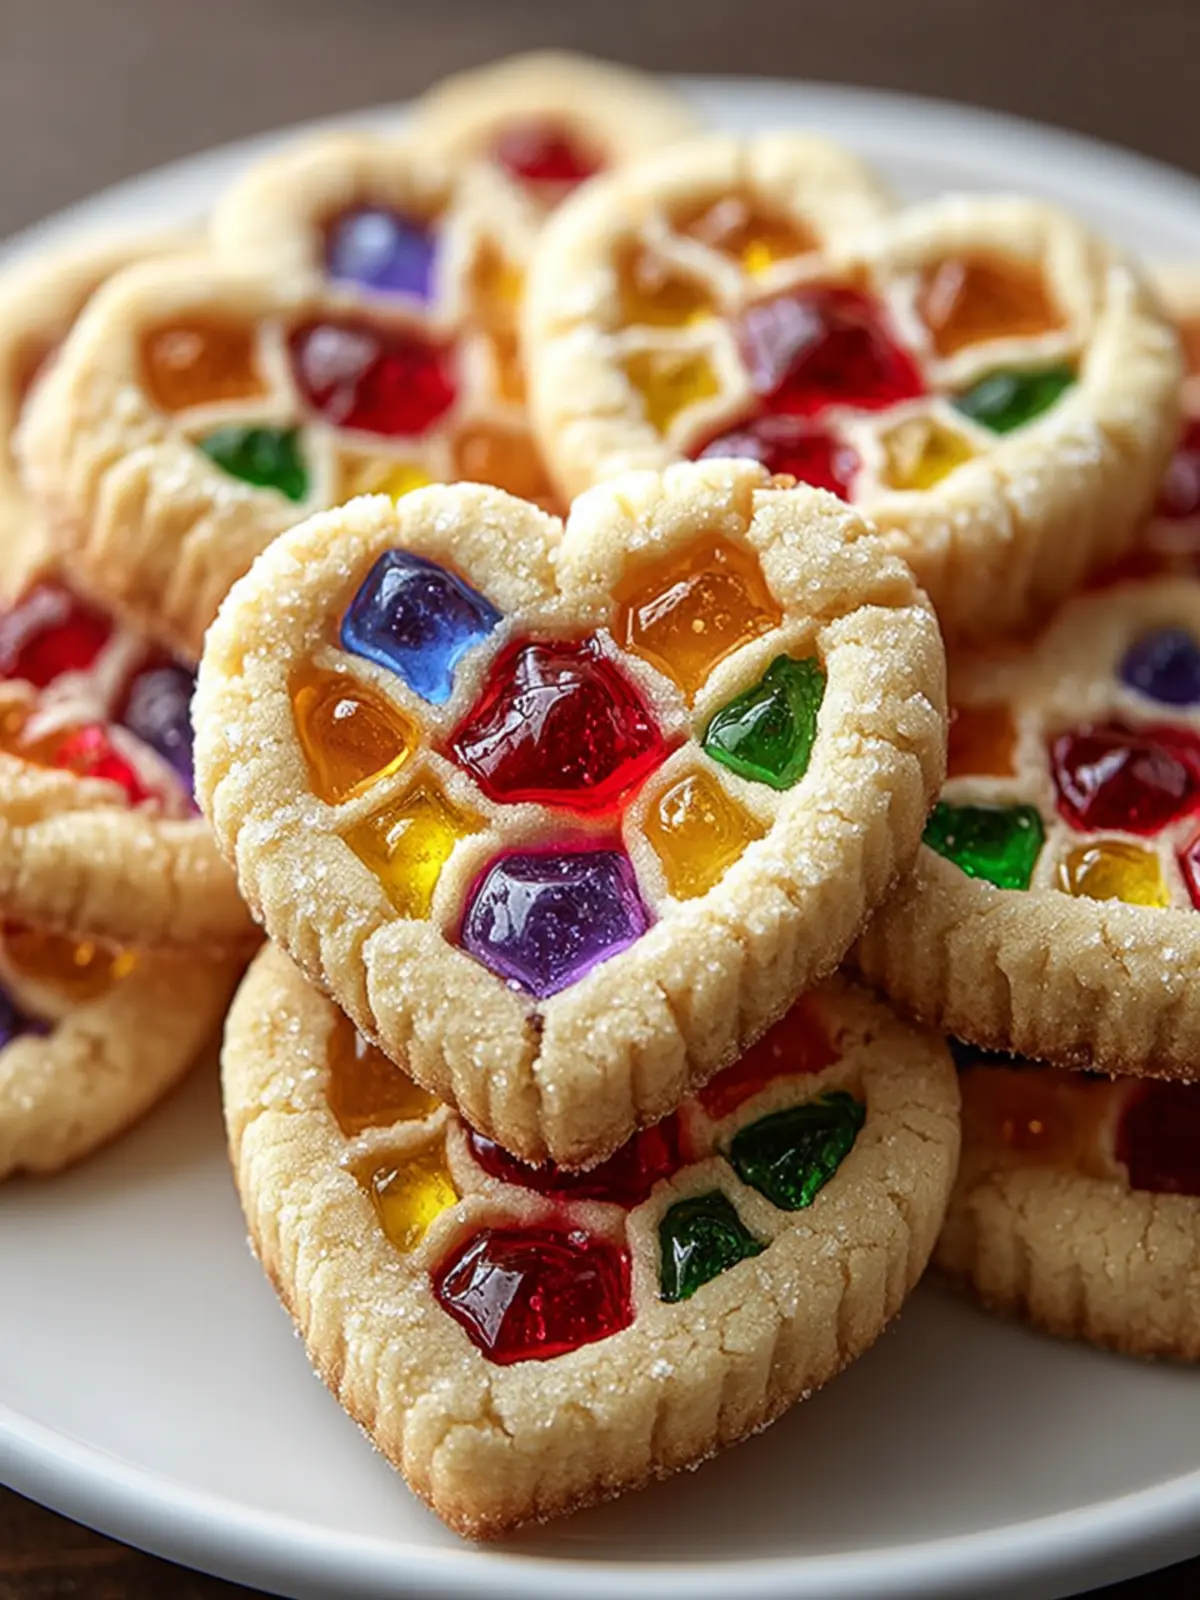
- Use a large cookie cutter to cut out shapes and a smaller cutter to cut out shapes within the larger shapes to create windows.
-
Filling the Windows:
- Place the cut-out cookies on the prepared baking sheets.
- Fill the cut-out windows with crushed hard candies, using different colors for a stained glass effect.
-
Baking:
- Bake in the preheated oven for 10-12 minutes, or until the cookies are lightly golden and the candy has melted.
- Let the cookies cool completely on the baking sheets to allow the candy to harden.
-
Final Touches:
- Once cooled, dust with powdered sugar if desired.
Notes
- For more vibrant stained glass effects, use bright colored candies and ensure they are finely crushed.
- To achieve even cookies, roll the dough evenly and chill it for about 15 minutes if it becomes too soft to work with.
- Store cookies in a cool, dry place to maintain the candy effect.
- Experiment with different shapes and patterns for a variety of festive looks.
- Prep Time: 30 minutes
- Cook Time: 10-12 minutes
- Category: Desserts
- Method: Baking
- Cuisine: American
Nutrition
- Serving Size: 1 cookie